How to Use ChatGPT for Interior Design (and Turn Its Ideas into Real Renders)
5 min read
Ask ChatGPT to redesign your living room and it will give you a genuinely good answer: palettes, layout suggestions, furniture picks, lighting advice. What it can't do is show you. The strongest 2026 workflow pairs the two — ChatGPT for thinking, a rendering AI for seeing.
Step 1 — brief ChatGPT properly
Give it the real constraints: room dimensions, window orientation, what stays, budget, who uses the room. Ask for two or three distinct directions rather than one — say, “warm minimal”, “soft mid-century”, “quiet luxury” — each with materials, colours and one hero piece.
Step 2 — turn each direction into a render prompt
Ask ChatGPT: “Summarise direction 2 as a one-sentence visual description of the finished room — materials, colours, lighting, mood.” That sentence is a ready-made prompt for an image model.
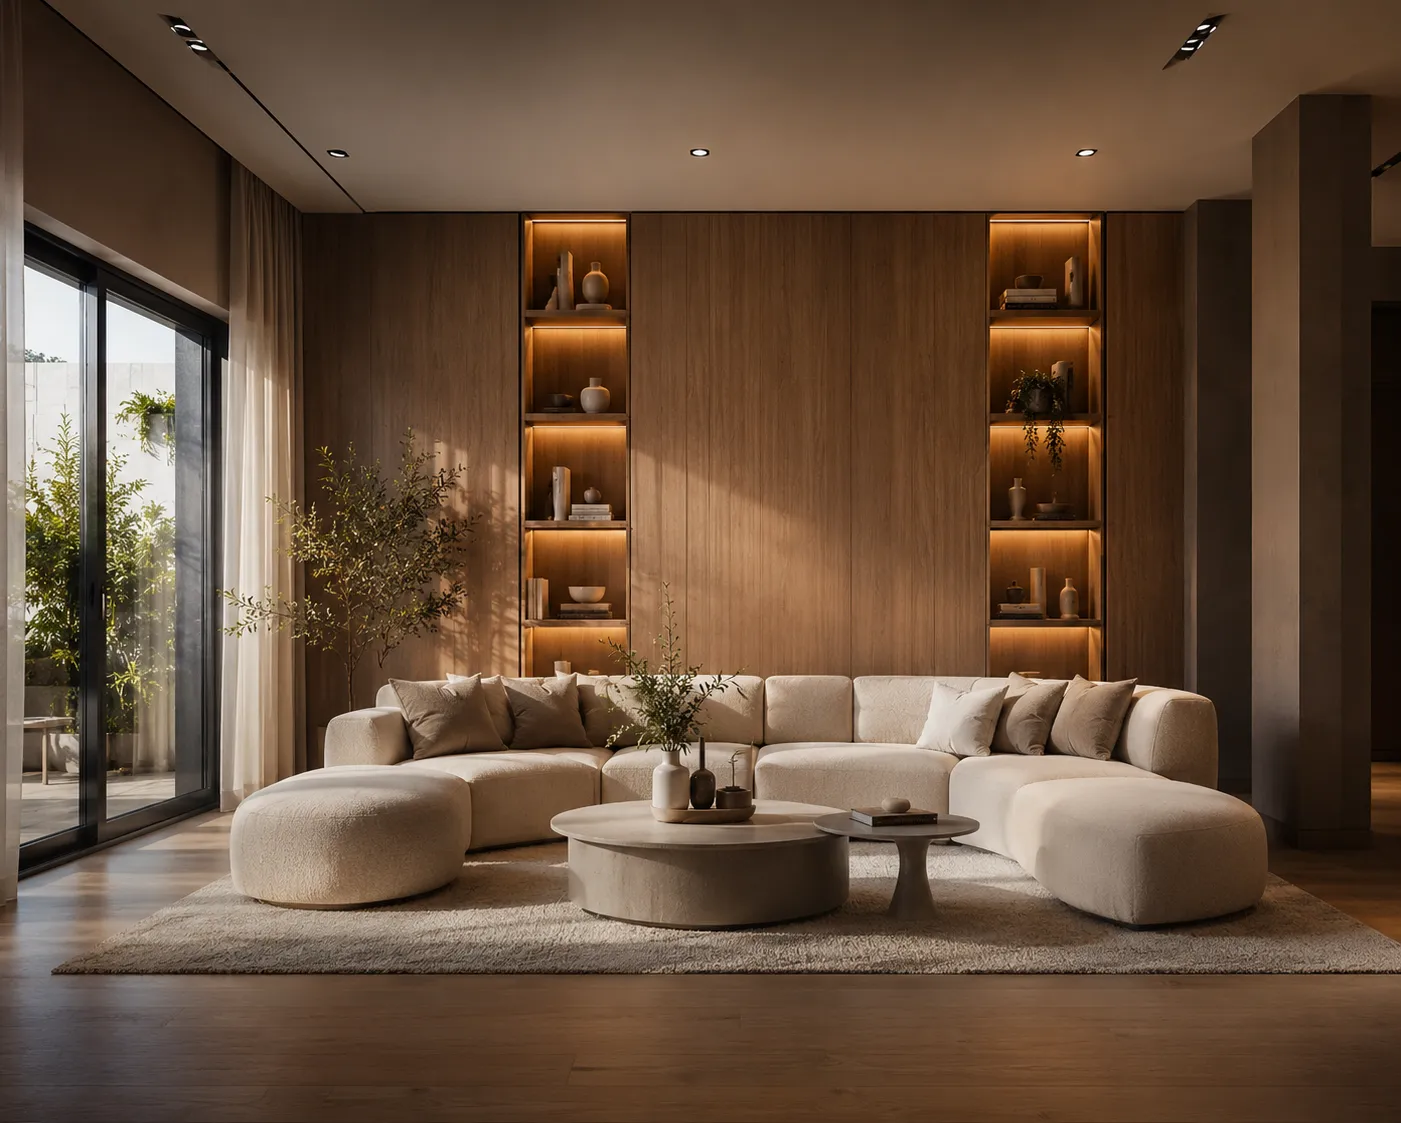
Step 3 — render it on your actual room
Upload a photo of the room to Interior AI, paste the description, and generate. The AI keeps your architecture — walls, windows, proportions — and applies the concept. Each direction takes about 30 seconds, so you can see all three before deciding.
Step 4 — refine the winner
- Swap just the floor or one wall finish with Material Swap.
- Fix a single detail — replace the artwork, add plants — with Inpainting.
- Need print quality? Enhance to 4K.
Why this beats either tool alone
ChatGPT reasons about function and taste but hallucinates spatially; image models render beautifully but don't push back on bad ideas. The loop — reason, render, react — is how designers actually work, just compressed from weeks to an afternoon.
Got a ChatGPT concept in your clipboard right now? Open Interior AI, upload the room, and see it — first renders are free.