
Cinematic Architecture Walkthrough Video with AI
6 min read
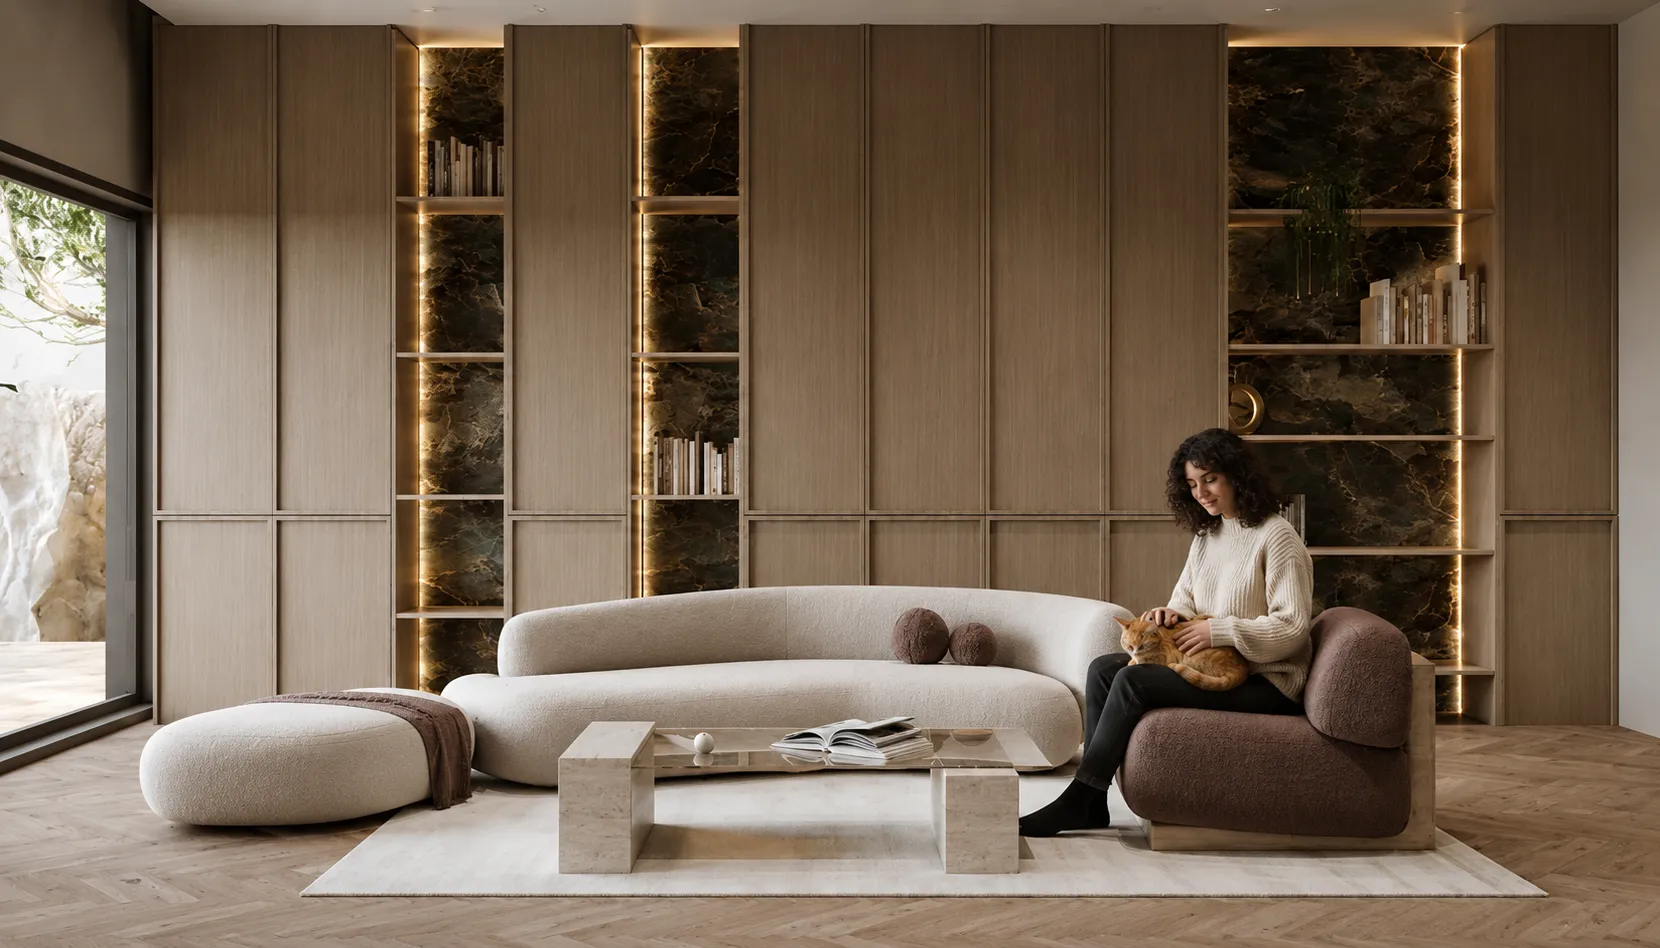
A still render gets attention; motion wins the pitch. AI video turns a single render or photo into a cinematic walkthrough — smooth camera movement, depth, and an optional classical score — without After Effects or animation experience.
Why motion matters
Clients understand space far better when the camera moves through it. A 5–10 second cinematic clip makes a proposal feel finished and is perfect for Instagram and TikTok, where video massively out-performs static images.
The input: what makes a still worth animating
The clip is only ever as good as the frame you feed it, and this is where most disappointing results start. One image goes in — a finished render, a photograph of a completed building, or an AI render you just made from a sketch. What works and what doesn't is fairly predictable:
- Depth in the frame beats a flat elevation. A room shot with a foreground edge, a middle ground and a window beyond gives the model something to move through. A straight-on facade with no perspective gives it almost nothing, and the motion looks like a zoom on a postcard.
- Well-lit and high resolution. Noise and compression artefacts get amplified once the frame starts moving.
- Avoid text and fine signage. Lettering on a shopfront or a plan legend tends to warp as the camera moves. Crop it out or pick another frame.
- Use your best image, not your newest one. The one you would put first in a portfolio is the one worth spending credits on.
The actual steps, with the settings named
- Upload the still in Video Creator.
- Pick the camera move. Seven options: Auto, Zoom In, Zoom Out, Pan Left, Pan Right, Dolly In and Orbit. For architecture, Dolly In sells interior depth, Orbit sells a standalone building or a pavilion, and Pan reads best on a long facade or a linear terrace. Auto holds an almost locked-off tripod feel, which is the safest choice when the geometry is complex.
- Set the length: 5 or 10 seconds. Five is the default and the right answer for social. Ten costs 1.8x the credits and is worth it only when the move genuinely needs the extra travel.
- Set the aspect ratio: 16:9, 9:16 or 1:1. Choose it before generating, not after — cropping a finished clip throws away the framing the model composed.
- Choose a quality tier. Standard and HD are available on any paid account; the Premium and Cinematic tiers cost more credits and are worth reserving for the one clip that goes in front of a client.
- Add a score, or don't. Four built-in tracks (two classical, one ambient, one jazz) plus No Music. Silent is the right call when the clip is going into a deck you will narrate over.
- Set mood and people. Warm, cool, dramatic or calm lighting, and whether figures appear in the scene at all. Empty reads better for handover shots; people read better for retail and hospitality.
- Generate. You get an MP4 back, ready to drop into a deck, a listing portal or a Reel.
What it costs, and who can run it
A five-second clip is 100 credits; ten seconds is 135 on the default HD setting (up to 720 on Cinematic). Be aware of one hard gate before you plan a workflow around it: video sits behind the paywall. A free account cannot generate one at all — it needs an active plan or a purchased credit pack. That is deliberate; video runs on far more expensive engines than a still render. If you are evaluating Archome on free credits, evaluate the renders first and treat video as the reason to buy rather than part of the trial.
For scale: on the $29/month plan (1,000 credits) that is ten five-second clips a month, or on the $15 credit pack (500 credits), five.
Tips from actual use
- Generate the aspect ratio you will publish. A 16:9 clip cropped to 9:16 afterwards loses the composition the model built the move around.
- Slow beats dramatic. The camera moves are deliberately tuned gentle because fast motion is where inferred depth falls apart — resist the urge to ask for more.
- Generate the clip from your finished, colour-corrected render, not from a draft you plan to fix later. There is no re-render of a video at 100 credits a go.
- Silent export plus your own music track beats the built-in score whenever the clip goes into a client presentation you will talk over.
AI walkthrough vs real-time engine walkthrough
| Real-time engine (Twinmotion/Lumion class) | AI walkthrough from a still | |
|---|---|---|
| Input needed | Full 3D model with materials + camera path | One render or photo |
| Time to first clip | Hours to days | Minutes |
| Best at | Long navigable tours, exact camera control | Short cinematic mood shots for clients/social |
| Skill needed | Engine + animation experience | A sentence describing the camera move |
| Cost model | Licence + GPU + operator time | Credits per clip |
Deeper version of this comparison, with camera-move prompts that work: renders to cinematic property videos.
What this does not do
Worth being precise, because the word "walkthrough" carries expectations from the real-time engines. This is a short cinematic clip generated from one still, not a navigable tour. The model infers depth from a single frame rather than reading real geometry, so the parallax is plausible rather than measured — push the camera far enough and edges will bend, which is exactly why the built-in camera moves are tuned slow and short. It will not walk a client from the entrance hall to the roof terrace, it will not hold a material spec across a long take, and it cannot be relied on for anything a client will measure. What it does, and does well, is turn your best frame into ten seconds of motion that makes a proposal feel finished. For a long navigable tour of a fully modelled building, the real-time engine in the table above is still the right tool.
Animate your render now: open Video Creator.