
AI Recording Studio Design: Photo to Concept
· 6 min read
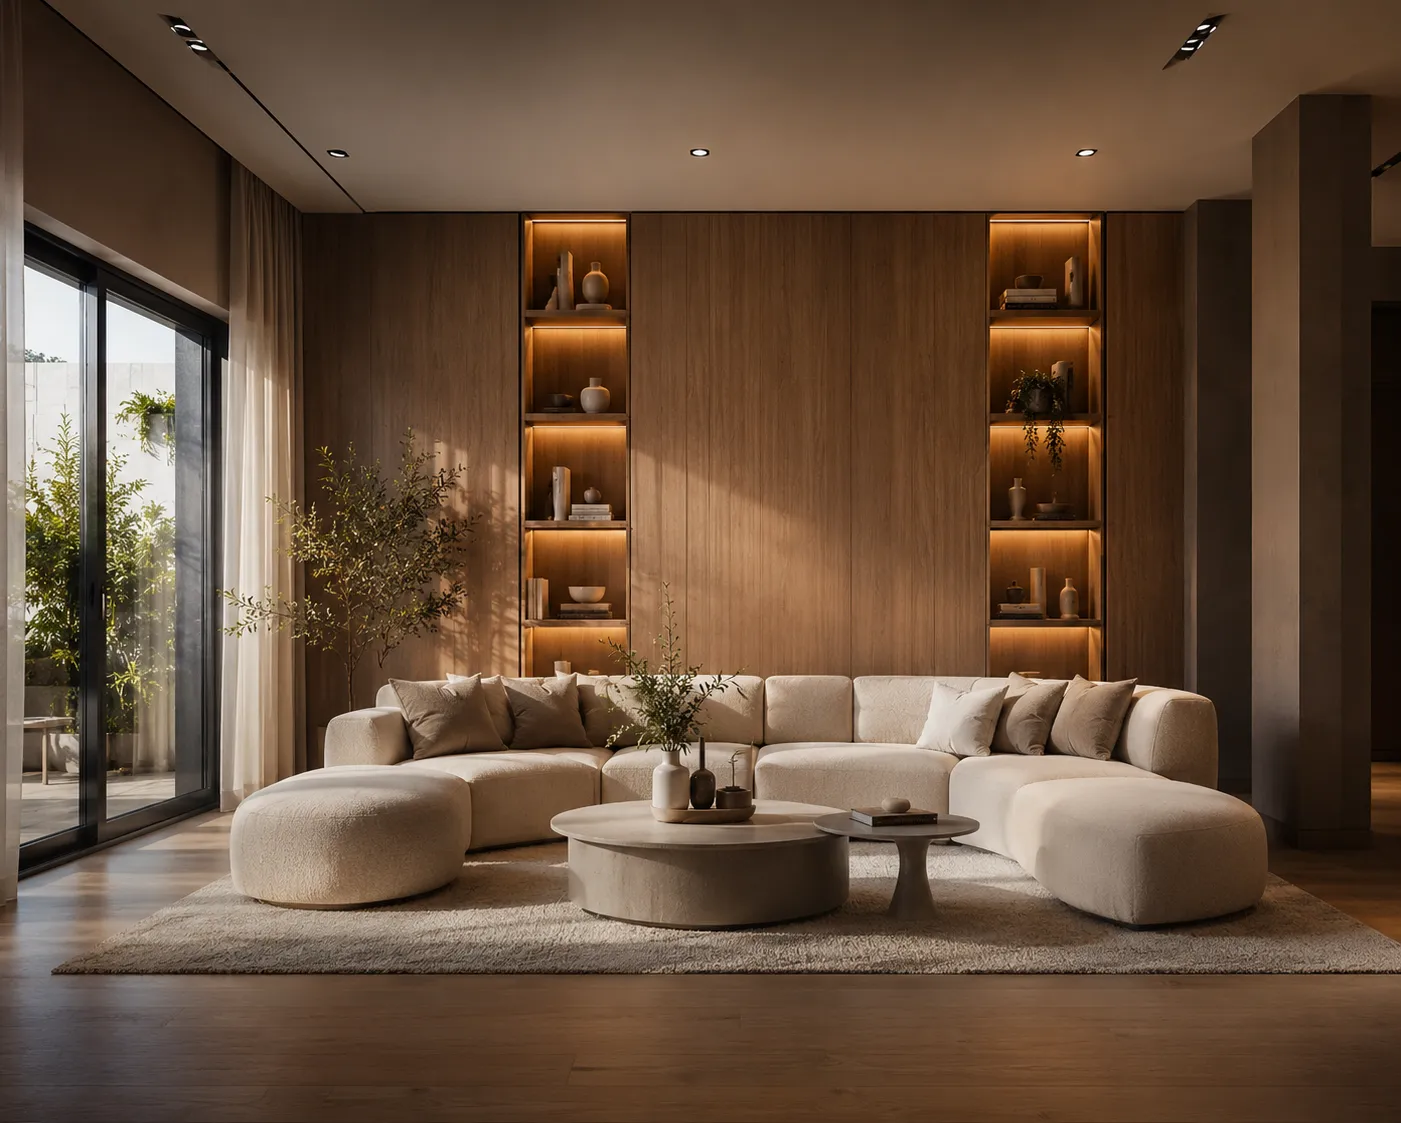
A recording or podcast studio is one of the hardest rooms to picture ahead of time, because the thing that matters most — how sound behaves in it — is invisible in a photo. But the finishes that go with good acoustics are very visible: panel placement, booth framing, cable-friendly furniture layout, lighting that doesn't wash out a video feed. Getting those wrong on paper means a contractor quote, a returned panel order, or a booth built in the wrong corner of the room. AI shortens that guesswork. Upload a photo of the spare room, garage or basement corner you're converting and see it rebuilt as a finished studio — same walls, same proportions — in about 30 seconds.
How it works
The model reads the real geometry in your photo — wall lengths, ceiling height, window and door positions, any awkward corners or low beams already there — and holds that fixed while it changes what sits on top: acoustic panels, bass traps, a vocal booth frame, desk and rack placement, flooring and lighting. Because the actual room stays locked, the render shows a plausible build-out of your space, not a stock photo of someone else's studio with a window in the wrong place.
Who this is for
- Podcasters and streamers converting a spare bedroom or closet into a dedicated recording corner, deciding on panel colour and booth position before ordering foam.
- Musicians and producers testing a control-room layout — desk facing the door or the window, where the monitors and rack sit — before running cable.
- Small studio owners pitching a rebrand or a new live-room look to clients before a build-out crew starts on a leased unit.
- Landlords and property managers marketing a soundproofed basement or flexible commercial unit to a tenant who records for a living.
Recording studio design prompts that work
- Podcast corner: "charcoal acoustic foam panels on two walls, dark wood desk, warm key light, exposed cable-managed mic arm, dark floor"
- Vocal booth: "framed vocal booth with double-layer drywall, grey acoustic wedge panels floor to ceiling, single warm downlight, thick door seal"
- Home control room: "desk centered against the short wall, studio monitors on stands, bass traps in the corners, warm wood slat wall panel behind the desk"
- Bright livestream-ready room: "white acoustic panels in a grid pattern, LED ring light, light oak desk, plants, soft daylight-balanced lighting"
From photo to finished concept
- Photograph the room straight-on from the doorway with the lights on, keeping as much wall and floor visible as possible.
- Upload it to Interior AI and describe the direction: panel colour and placement, whether a booth is framed in, desk position, and lighting mood.
- Generate a few alternatives — a full acoustic-panel grid and a lighter foam-plus-rug treatment read very differently on the same walls, and it's worth comparing both before committing to materials.
- Take the direction you like to an acoustic contractor or supplier as a reference for panel type and coverage, not a finished acoustic spec.
Designing around a studio's real constraints
A few details are worth naming directly in the prompt rather than leaving to chance. If the room has a hard, reflective floor, ask for "thick area rug" or "carpet tile" explicitly — an unaddressed concrete or laminate floor almost always renders bare, which reads worse than the room actually needs to look. If a vocal booth or isolation frame is part of the plan, name it directly — "framed booth in the back corner" — since "soundproofing" on its own tends to just add more wall panels rather than a physical structure. And if camera-ready lighting matters for video podcasts, say so — "soft key light, no harsh overhead shadows" — because default studio lighting in a render skews moody and dim, which looks great for audio-only but poorly on camera.
Where AI stops and your contractor starts
The render settles the layout, panel style and mood — not the actual sound isolation, mass-loaded vinyl behind drywall, or HVAC noise floor. Acoustic treatment that looks right in a photo can still measure wrong; use the render to align on a direction fast, then hand the acoustic calculations and build to a professional once the concept is chosen.
Frequently asked
Does it keep my actual room? Yes — the walls, ceiling height, windows and doors stay exactly as photographed. Only the panels, booth framing, furniture, flooring and lighting change.
Can it work on an unfinished basement or garage? Yes — turning bare concrete or studs into a finished studio makes the build decision concrete rather than abstract. See the AI basement design guide for more on below-grade rooms specifically.
How is this different from a home theater render? A recording studio prioritises sound absorption, isolation and a working desk layout over seating and screen placement — if the room is really for watching rather than recording, the AI home theater design guide covers that layout logic instead. And if it's a general work-from-home setup rather than an acoustic space, the AI office design guide is the closer fit.
Ready to see your own room redesigned as a studio? Upload a photo to Interior AI — your first renders are free.