Rhino to Photoreal Render in 30 Seconds
· 6 min read
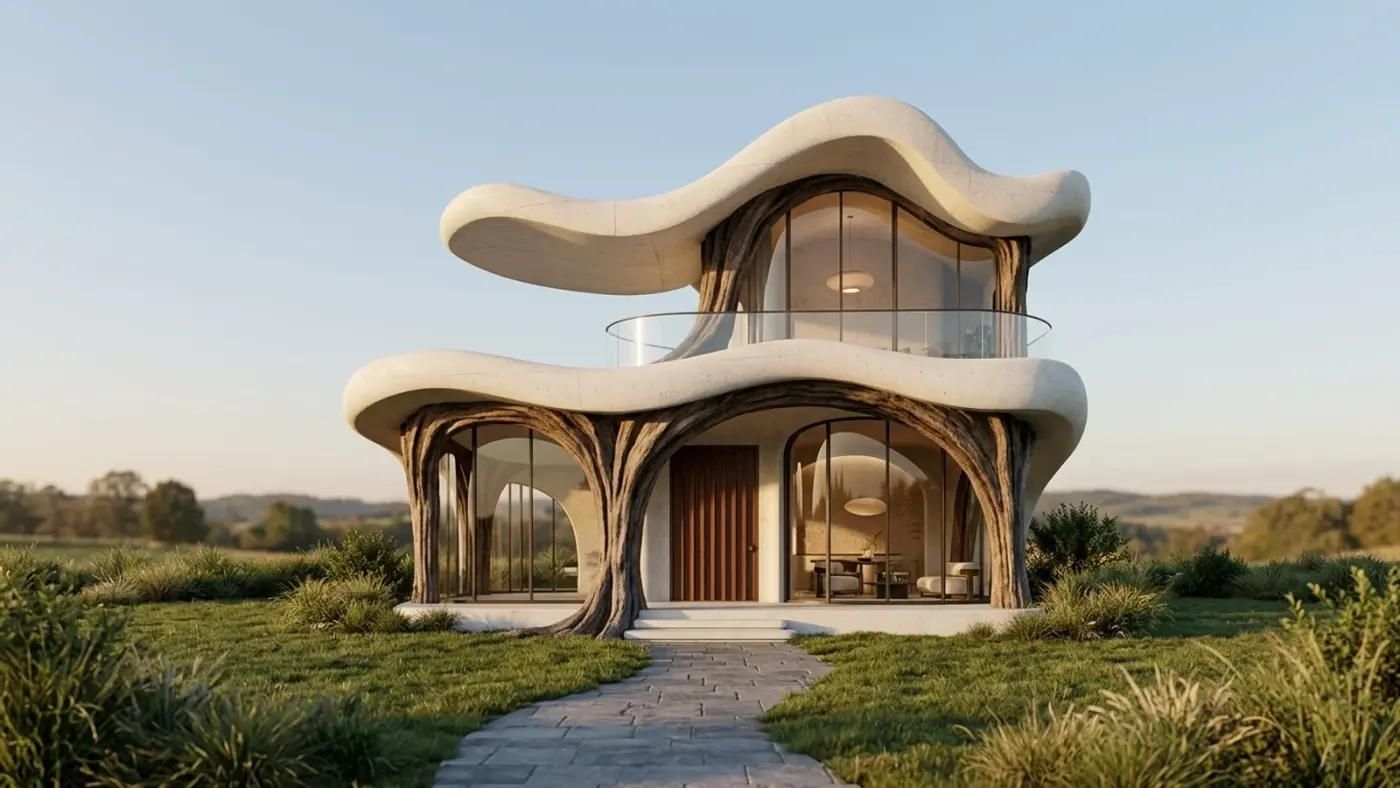
Grasshopper is generous with options and stingy with time to show them. An afternoon of slider-dragging can produce a dozen massing variants, but turning even three into something presentable for a jury or a client usually means a render queue, not an afternoon. Rhino AI rendering skips that queue: capture the viewport you already have on screen, upload it, and get a photoreal version back in about 30 seconds — fast enough to render the variant you're arguing about while the argument is still happening.
The mechanism is simple on purpose. The tool doesn't open your 3DM file or read your Grasshopper definition — it works from a picture of the view you captured, the same way a screenshot works. Your model, blocks and definition logic never leave Rhino; only the frame you chose to share does. The workflow is identical whether the geometry behind that frame came from a simple extrusion or forty nested components.
For a studio that iterates by changing one parameter and re-running the whole form, that distinction matters more than it sounds. You aren't asking an AI renderer to understand your script — you're asking it to dress whatever the script just produced. Change the slider, re-capture, upload again: the render step stays constant no matter how the geometry shifts underneath it.
Why a jury meeting is the wrong place to discover you only rendered one option
The expensive mistake in parametric studios isn't under-designing — Grasshopper makes over-designing easy. The expensive mistake is picking the variant to present before anyone has seen it finished, because finishing one variant the traditional way takes long enough that trying a second one feels like it isn't worth the time. That's a scheduling problem pretending to be a design decision, and it quietly narrows the options a jury or client ever gets to weigh in on. Thirty seconds a variant changes the math: rendering three or four finishes costs an afternoon instead of a week, so the option that reaches the meeting is the one that actually looked best finished, not the one someone guessed would.
The workflow, step by step
- Pick the display mode. Arctic is the cleanest default — flat white surfaces with ambient occlusion read clearly without competing with placeholder colors. Shaded, Ghosted and Rendered all work too.
- Capture the view. ViewCaptureToFile, or a plain screenshot, at the largest resolution your screen allows. This is the frame the render is built on, so set the camera the way you want the final image framed.
- Upload it and name the finish. A short, specific sentence — "board-formed concrete, blackened steel trim, overcast afternoon light" — gives the model something concrete to change. Vague mood words ("make it nice") give it nothing to hold onto.
- Get the render back in about 30 seconds. Massing, curvature and camera angle carry over from your capture; materials, light, sky and context are what gets generated.
- Re-run the same prompt on the next variant. Keeping the material and light language identical across captures is what makes a set of renders read as a comparative study rather than a pile of unrelated images.
Comparing Grasshopper iterations without a render farm
- Hold the prompt constant, change the geometry. If every massing variant gets "white render, overcast sky, no context," the differences a viewer notices are the ones you actually changed.
- Batch the captures first. Run ViewCaptureToFile for every variant in one pass, then upload and render them back to back instead of switching between Rhino and the browser each time.
- Render wide, then narrow. Run the full set at the lower-cost tier to find the direction, then re-render only the two or three survivors at the higher tier for the actual meeting.
What stays fixed, and what doesn't
The honest limit is the same no matter how many variants you run through it: the AI only sees what the camera saw. Geometry outside the frame and materials you never displayed don't exist to the render, so frame the view deliberately — there's no fixing that afterward. Within the frame, massing, openings, proportions and camera angle hold; what changes is everything a raw viewport doesn't carry: surface material, weathering, reflections, sky, planting. Line-work exports — Make2D, Technical or Pen display — read better through sketch to render, which is tuned for drawings rather than shaded viewports.
Frequently asked
Does it read my Grasshopper definition? No. There's no Grasshopper component and no 3DM import — the input is always an image of the viewport you captured, so your definition and geometry stay on your machine.
Can I render several variants in one sitting? Yes — that's the main use case for a parametric workflow. Capture each variant, keep the prompt wording identical across all of them, and render the set back to back.
Is there a Rhino plugin, or do I have to screenshot every time? There's a free plugin on Food4Rhino that sends the active viewport straight through without an export step, if you'd rather skip the manual capture. A screenshot works just as well if you don't install it.
Is it free to try? Yes. A new account gets a one-time 100-credit trial with no card required, enough for three renders to see how your own Grasshopper study holds up.
Next time a slider produces a variant worth showing, don't wait for the render queue to agree. Capture the view and try it — the first renders are free.