
Compare Material Options on One AI Board
· 5 min read
By Ömer Koç, Architect · Founder of Archome AI
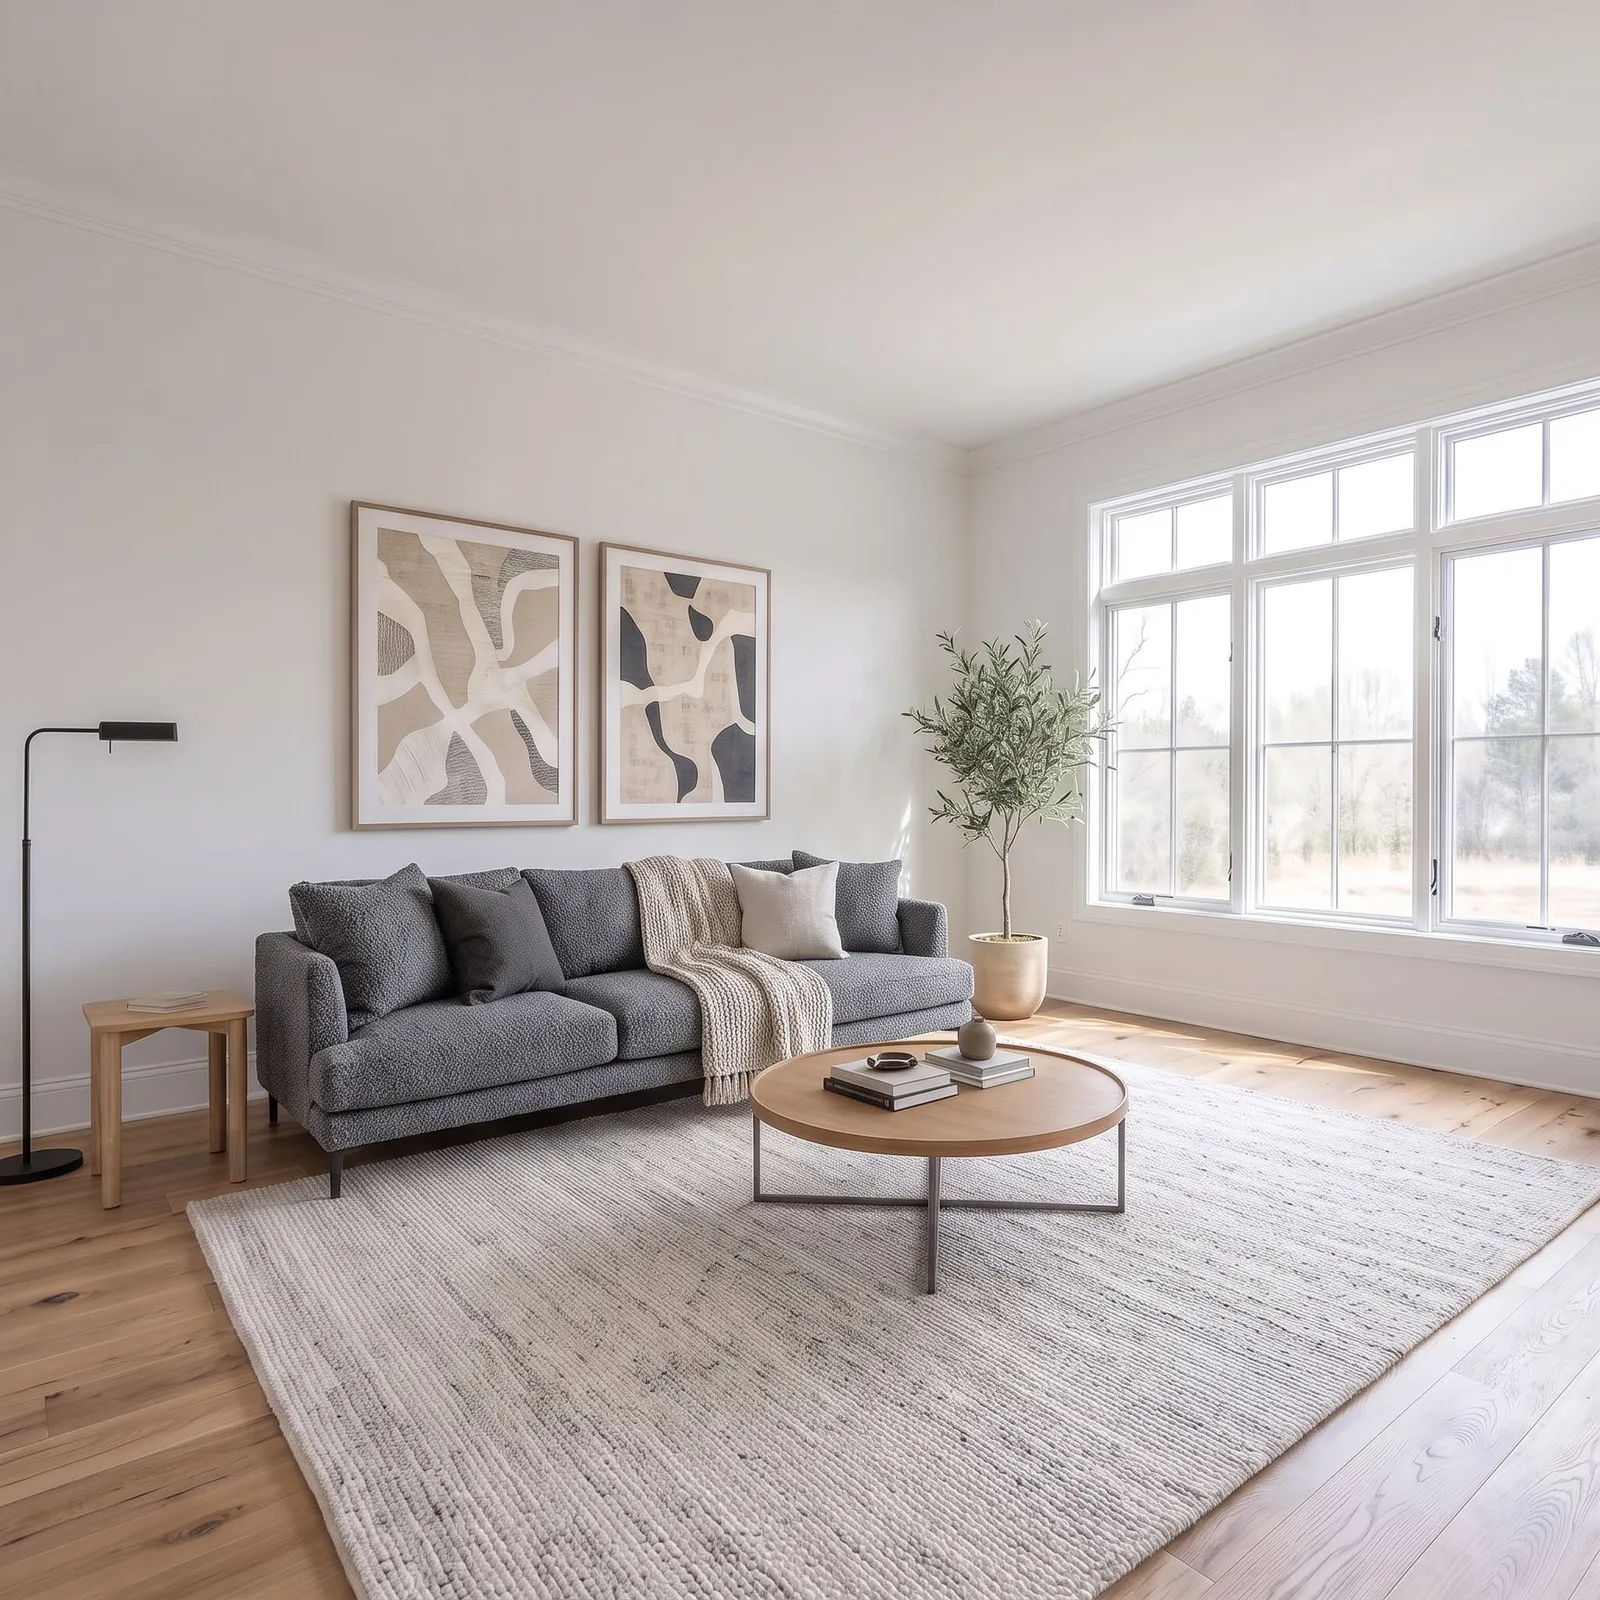
"Can I see it in the other fabric?" is the question that slows every finish decision. Showing three options usually means three separate renders, three files and a client trying to compare them by flicking between tabs. On Archome Canvas the three options sit side by side on one board, each one connected to the sample it was made from. The images below are from the example Canvas every new user sees.
What you need
- One image of the room — a photo or a render.
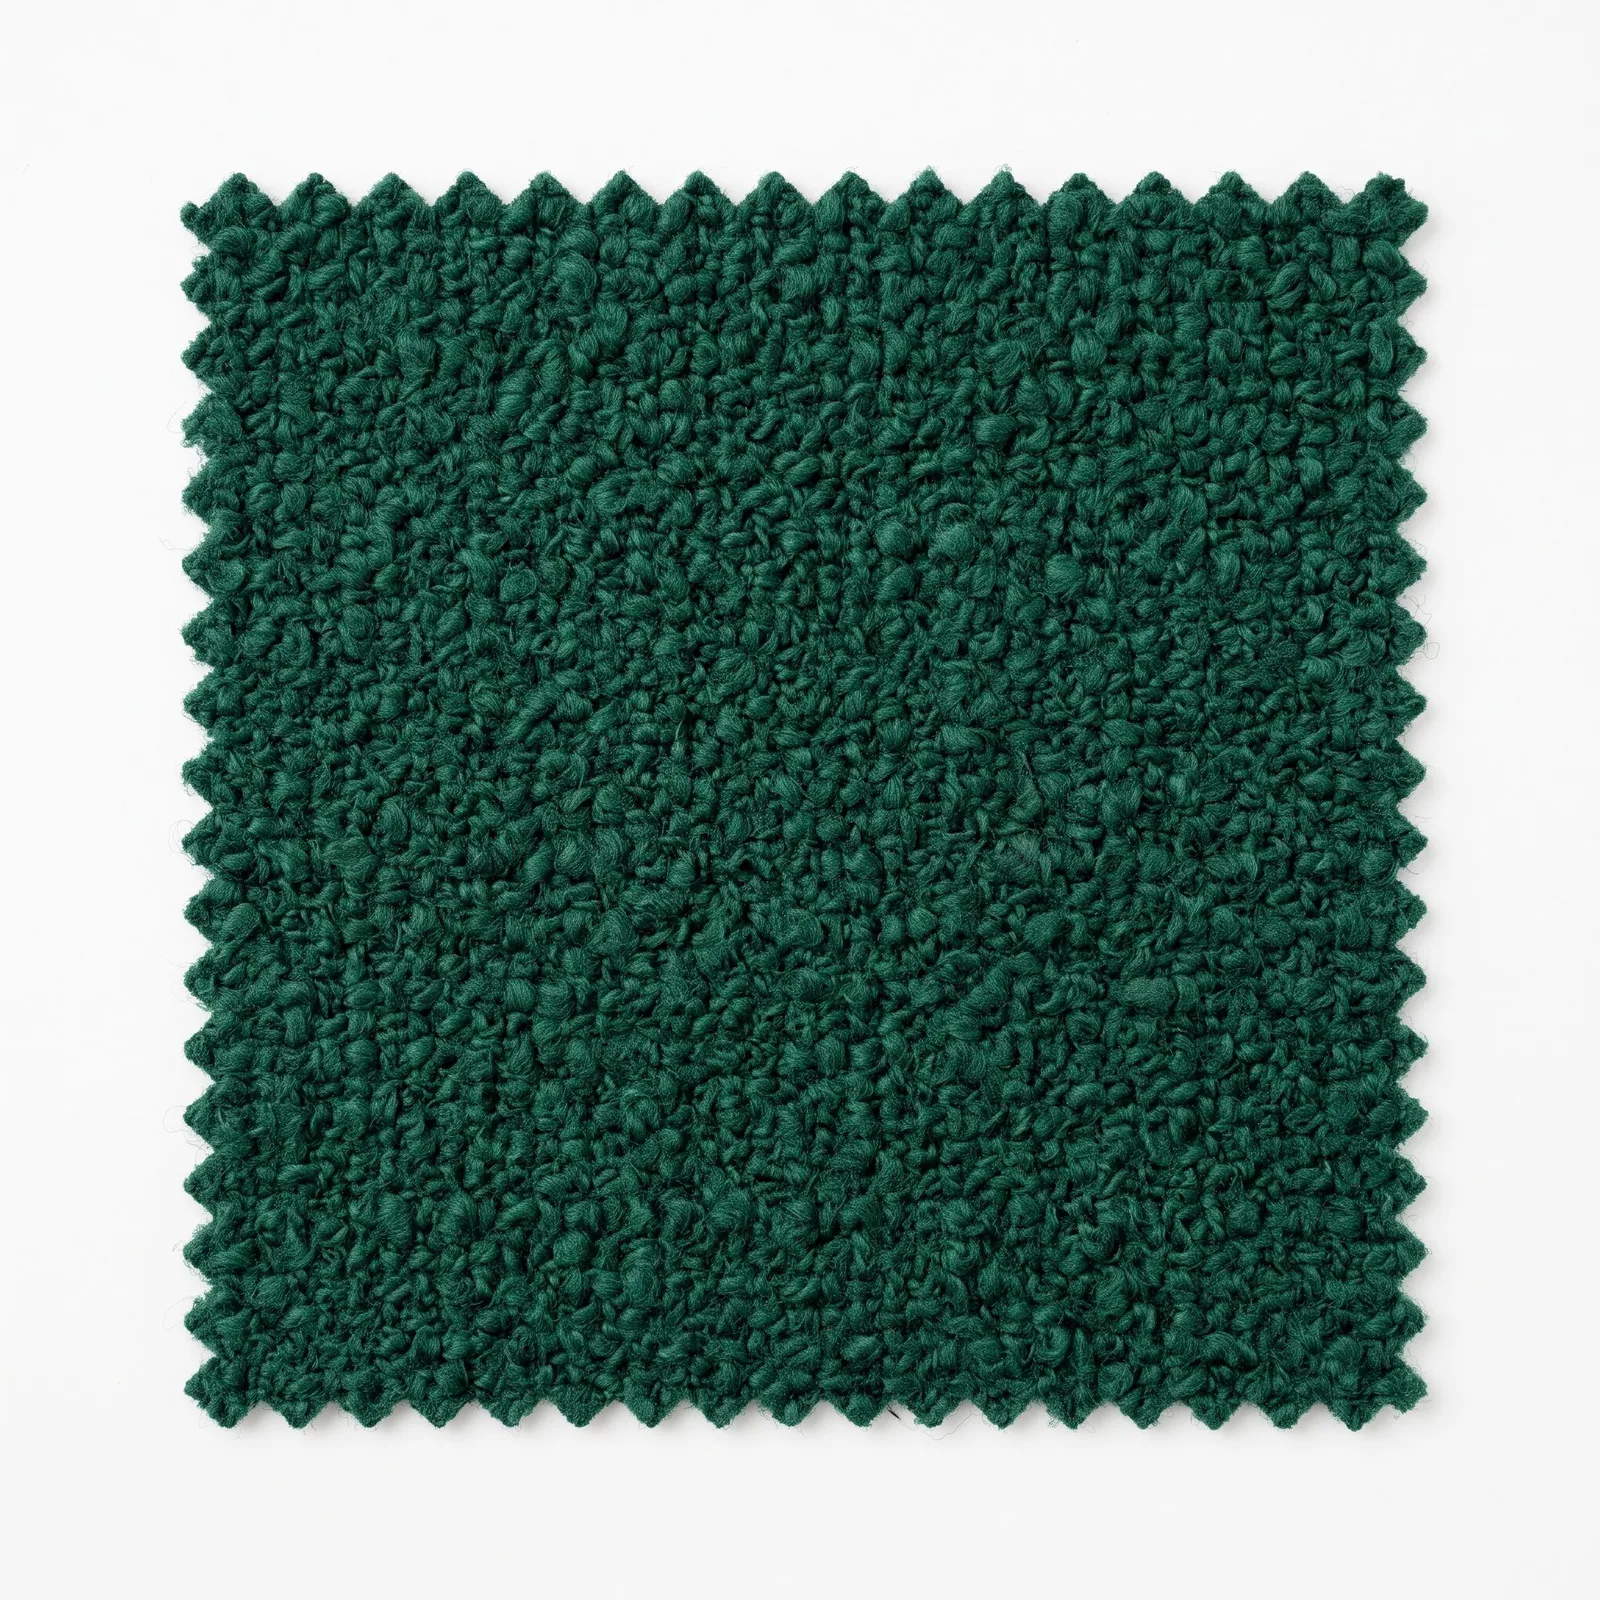
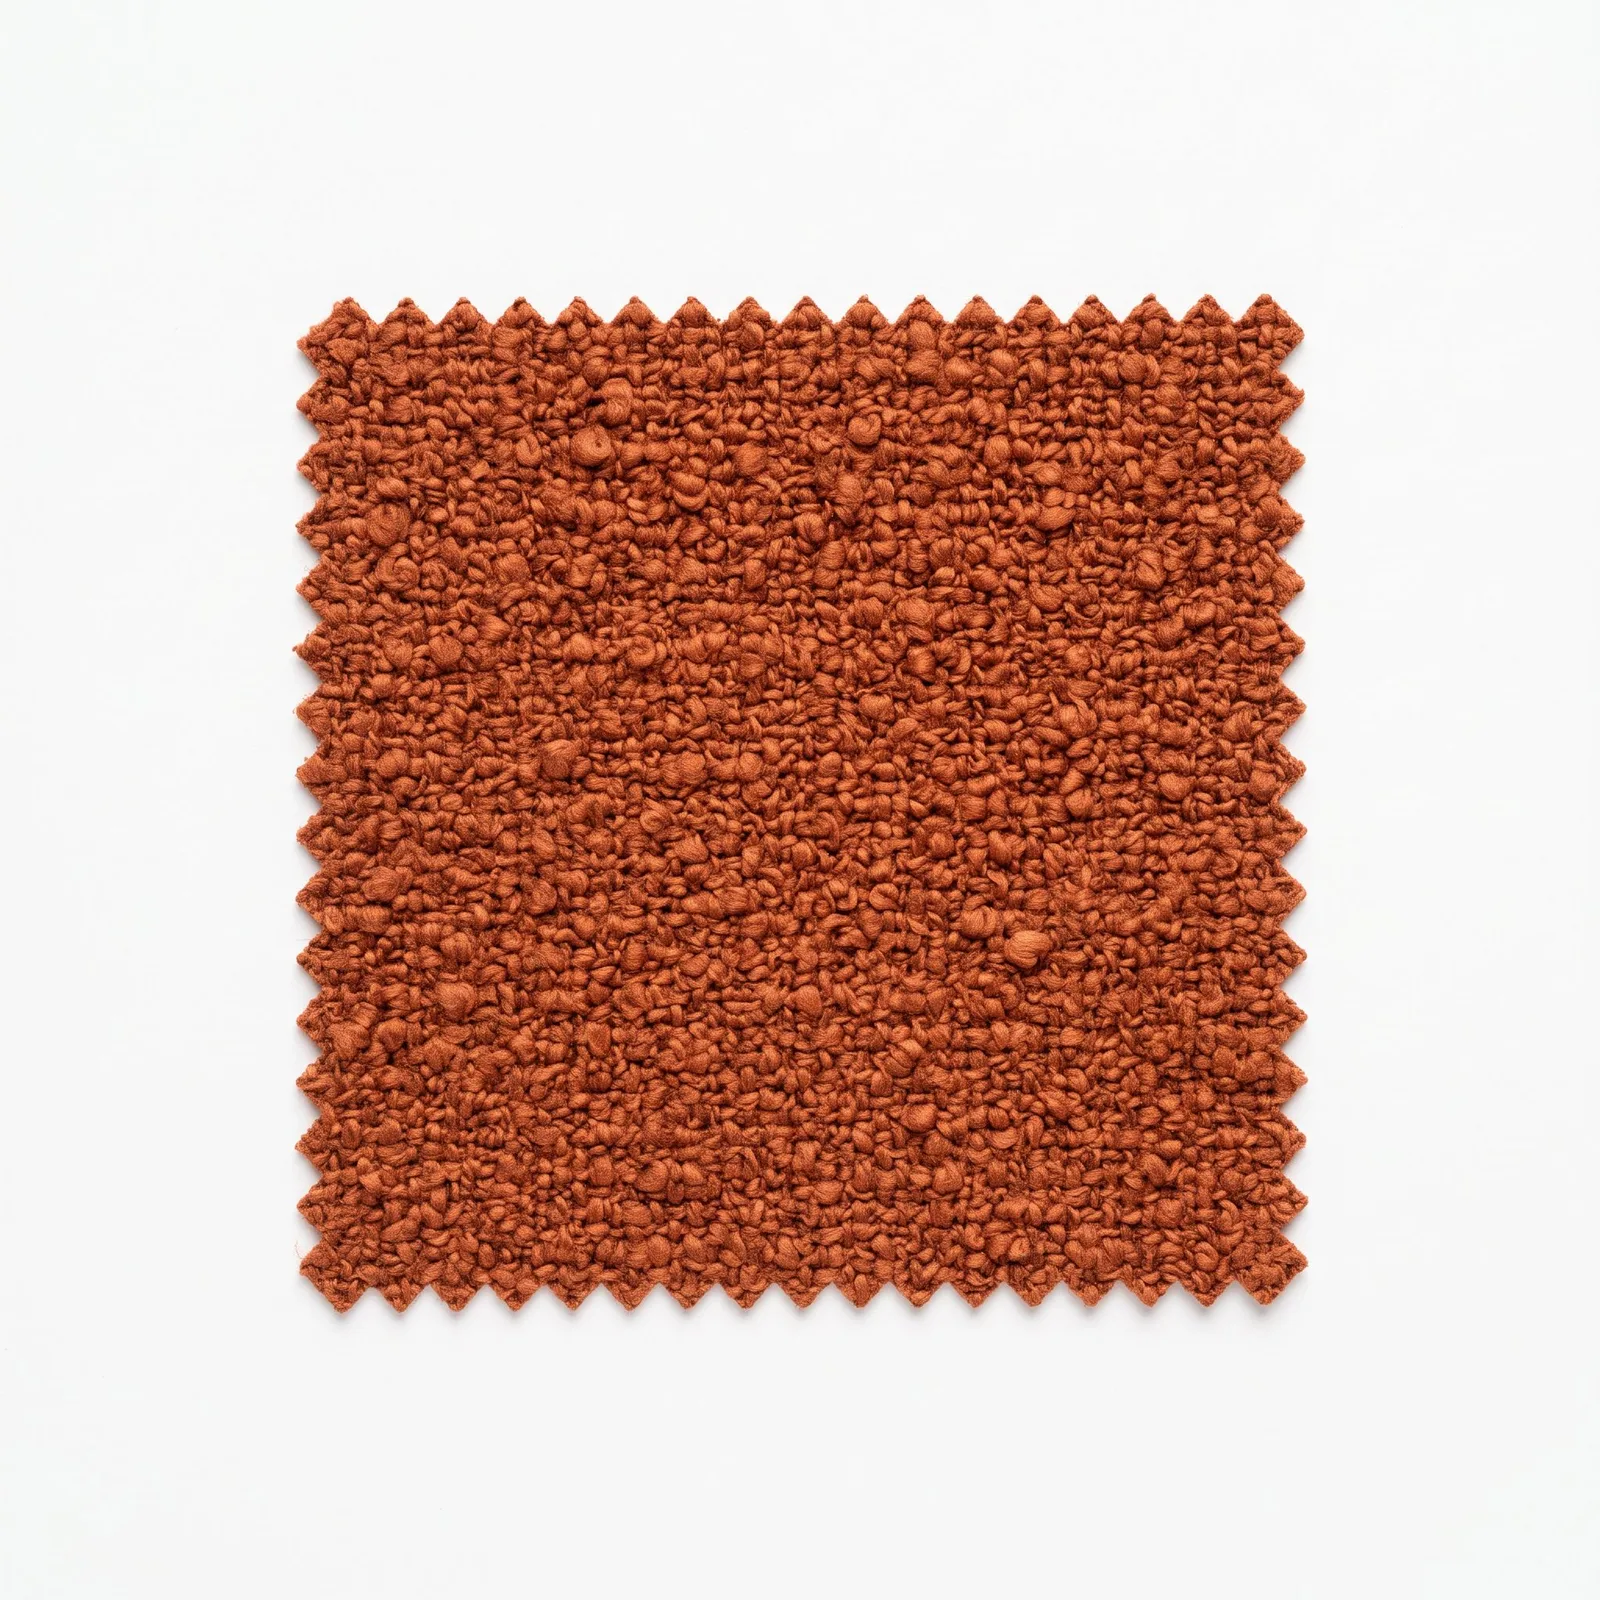
- Material samples as images: a fabric swatch, a tile, a wood finish, a stone — whatever is being decided. A photo taken in a showroom works.
Step by step: compare three materials on one room
- Put the room image and the three sample images on the board.
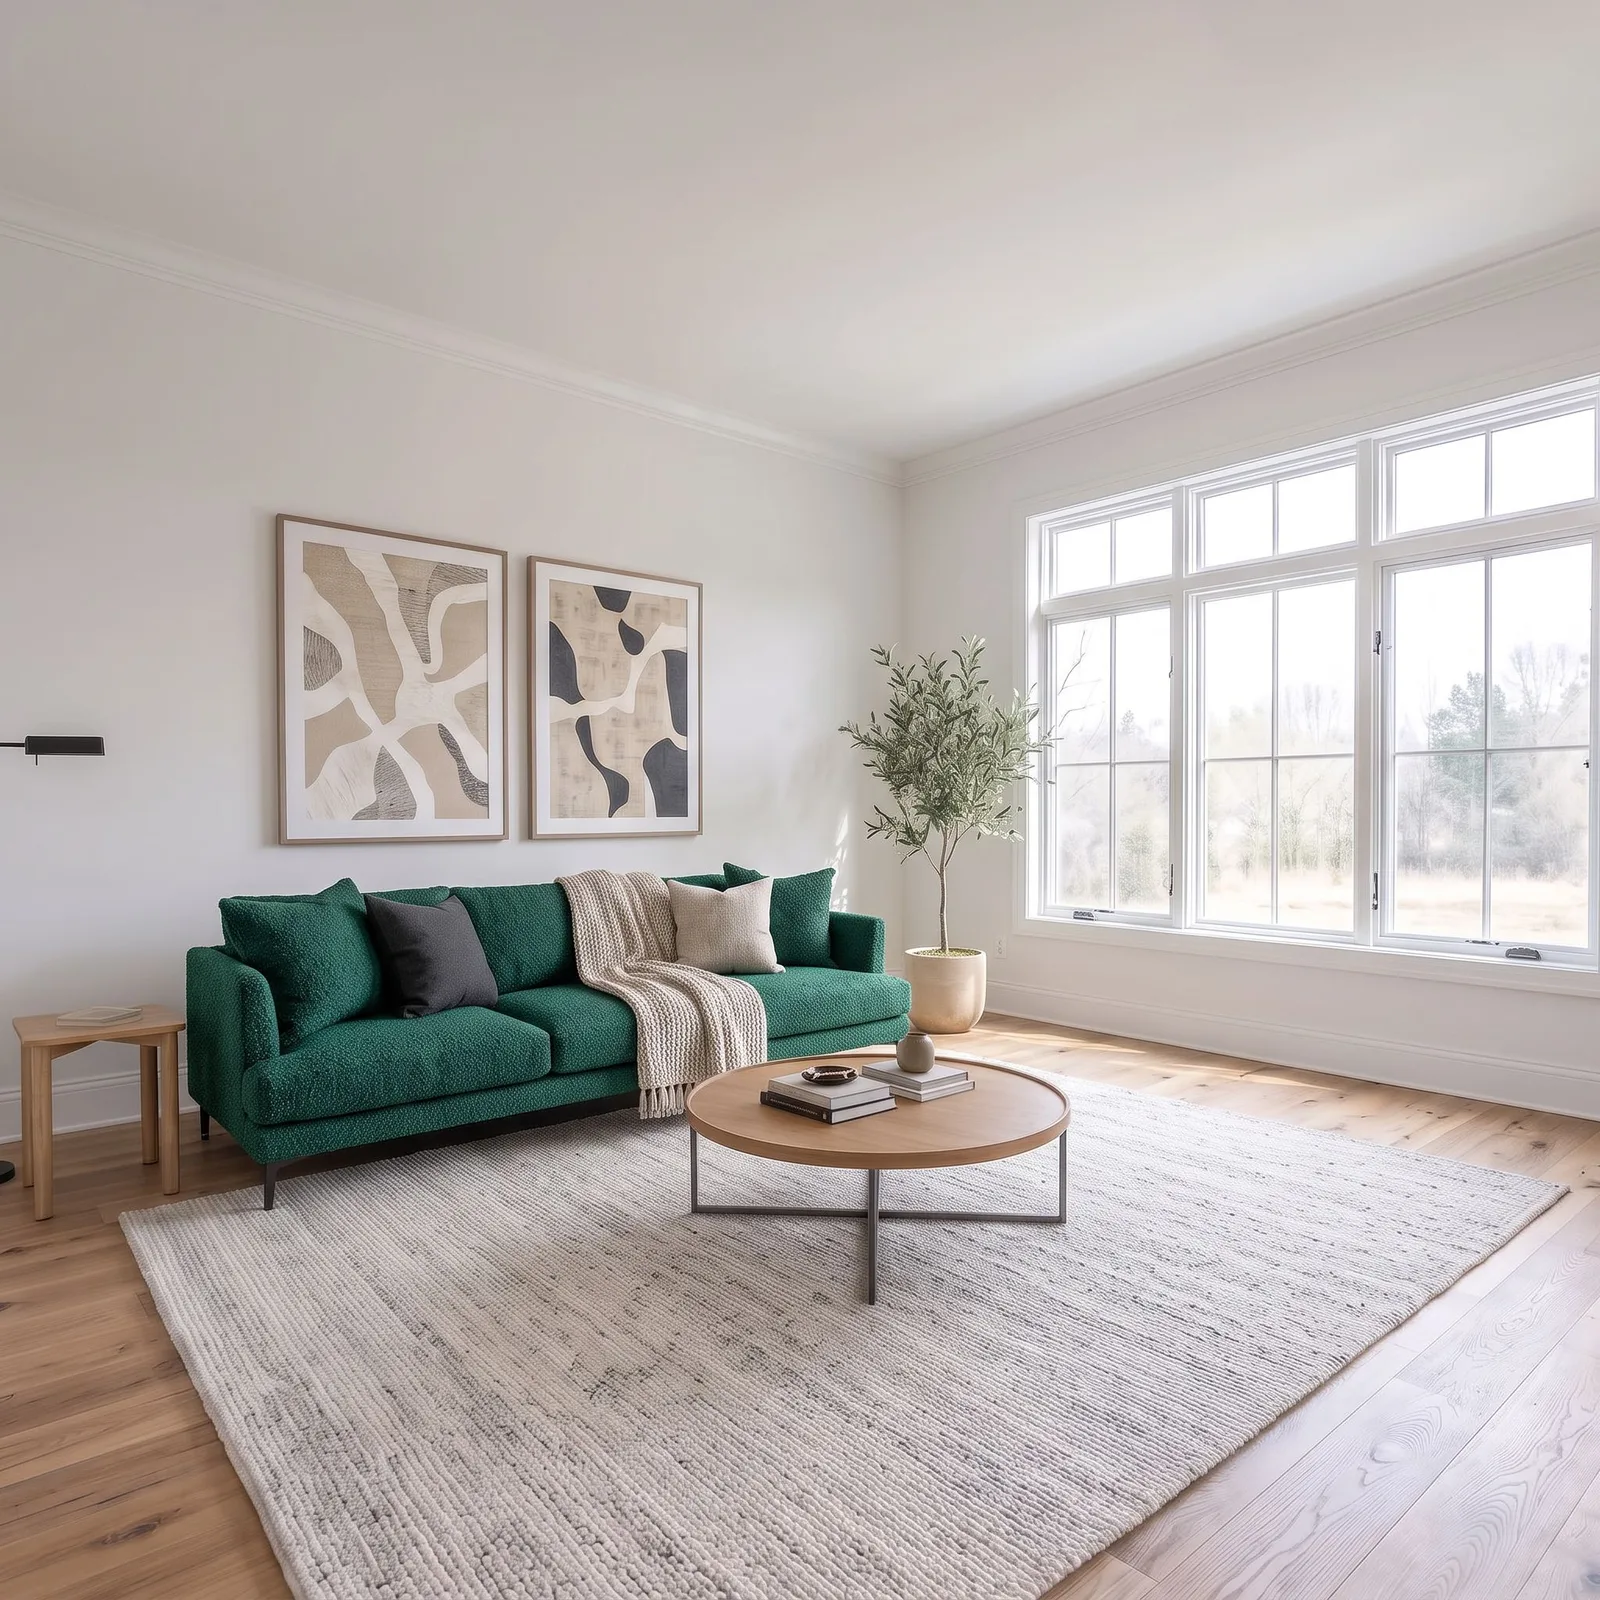
- Connect each sample to the room render and apply it as a material — one result per sample.
- Compare the three results side by side and label them with a frame and a note.
- Upscale the option the client picks.
- Add people to the upscaled version so the material is seen at real scale.
Step 1 — Put the room and the samples on the board
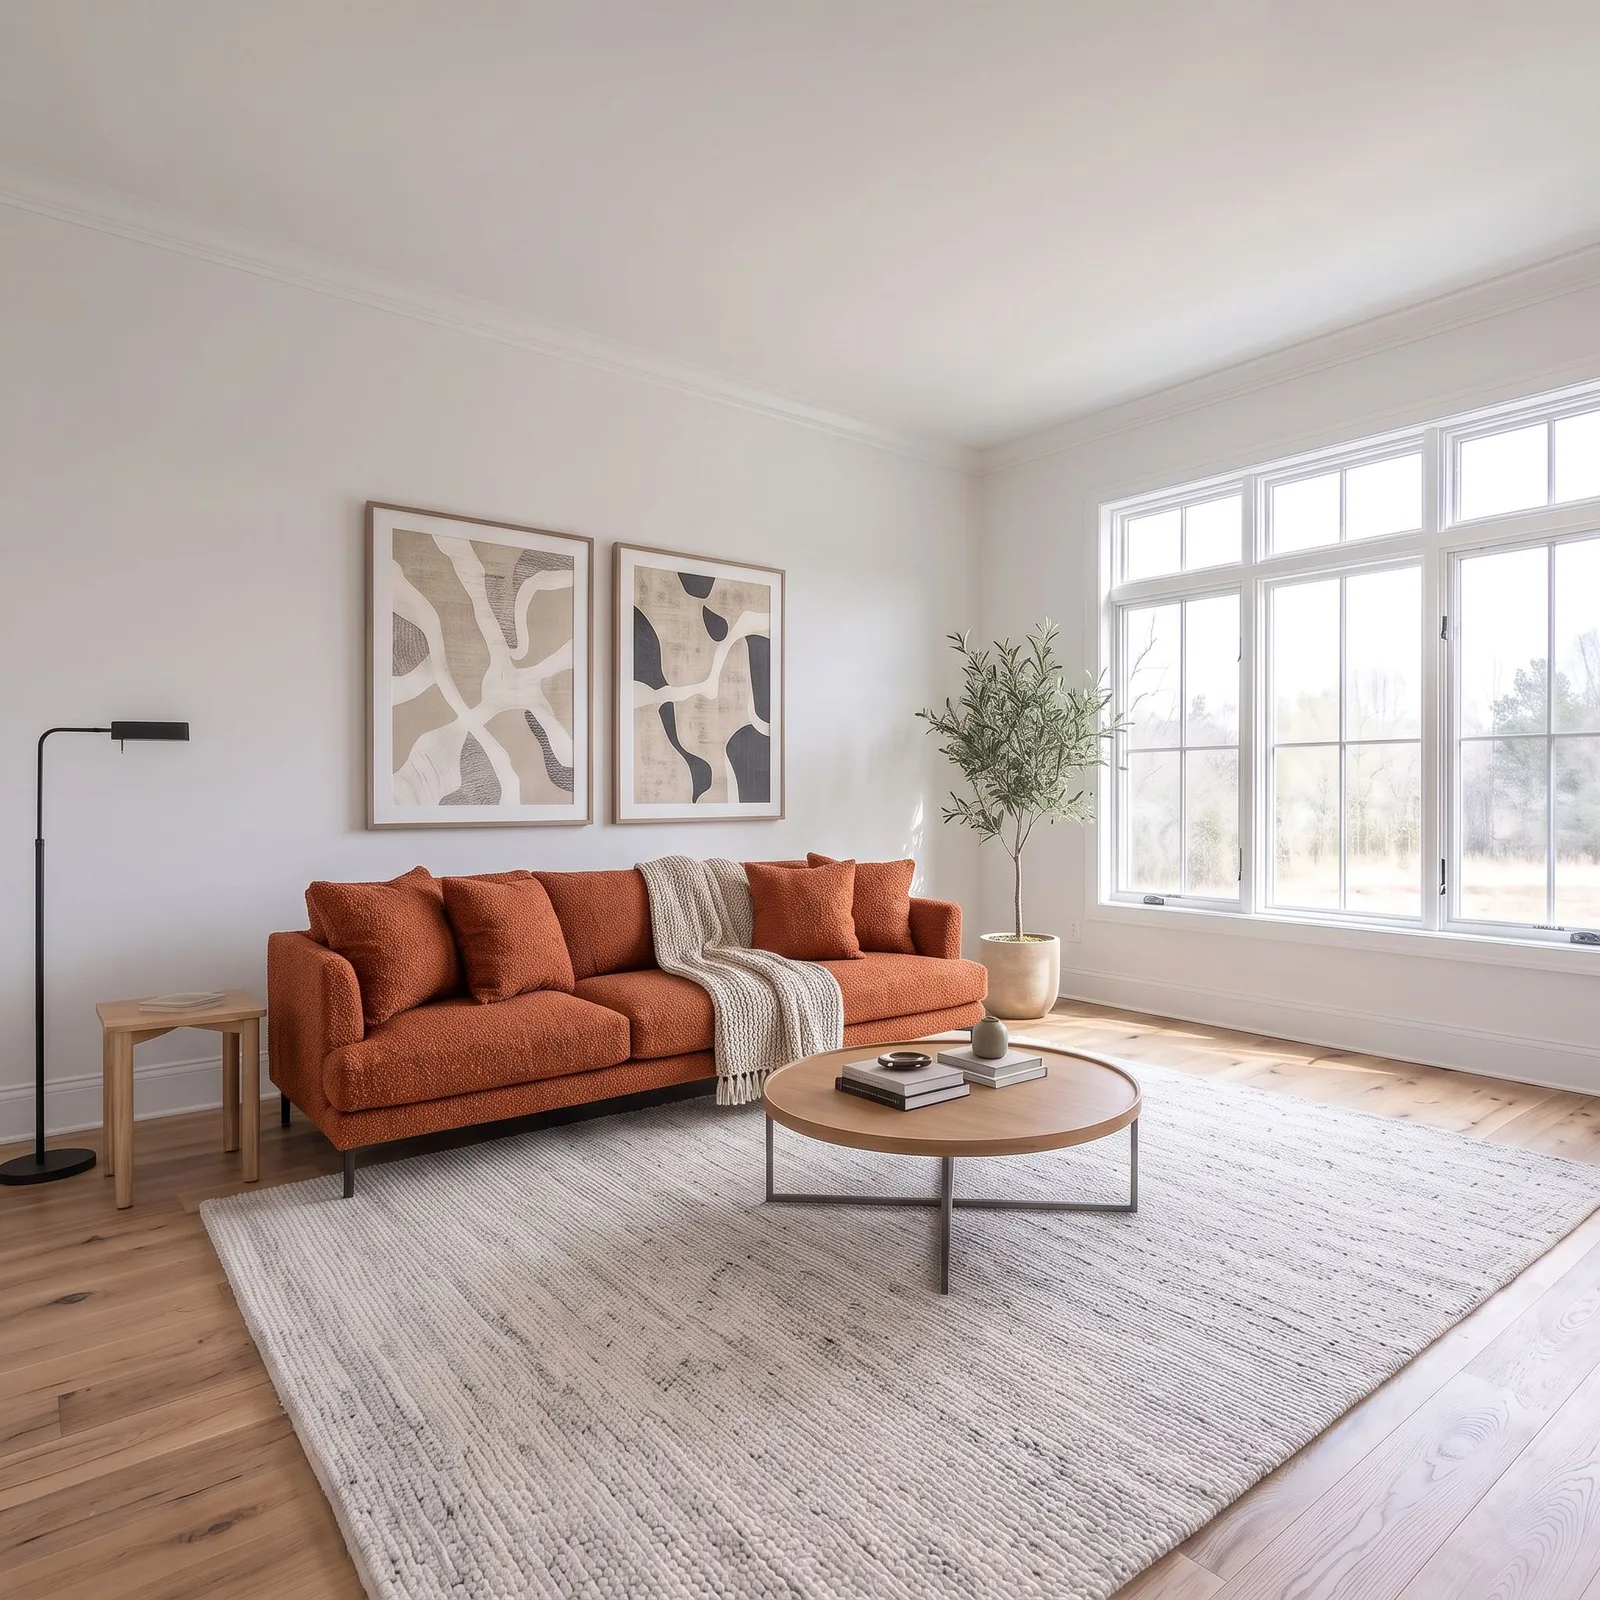
Upload the room image and the sample images, or paste them with Ctrl+V. Keep the samples in a row under the room so the board already reads like a material board.
Step 2 — One result per sample
Drag from the dot on a sample card onto the room render and choose Apply as material, then say which surface it goes on ("the sofa"). Because the material comes from the sample image itself, you don't have to describe "a deep green boucle with a looped texture" in words — the sample carries that. Each result appears as a new card, connected to both the room and the sample it used. Repeat for the other samples.
Step 3 — Compare and pick
With all three on one board, put a frame around them and label them A, B and C, or select two and compare them with the before/after slider. Draw an arrow to the one the client leans toward. Nothing is lost: the other options stay on the board, with their version history, if the decision changes next week.
Step 4 — Upscale the winner
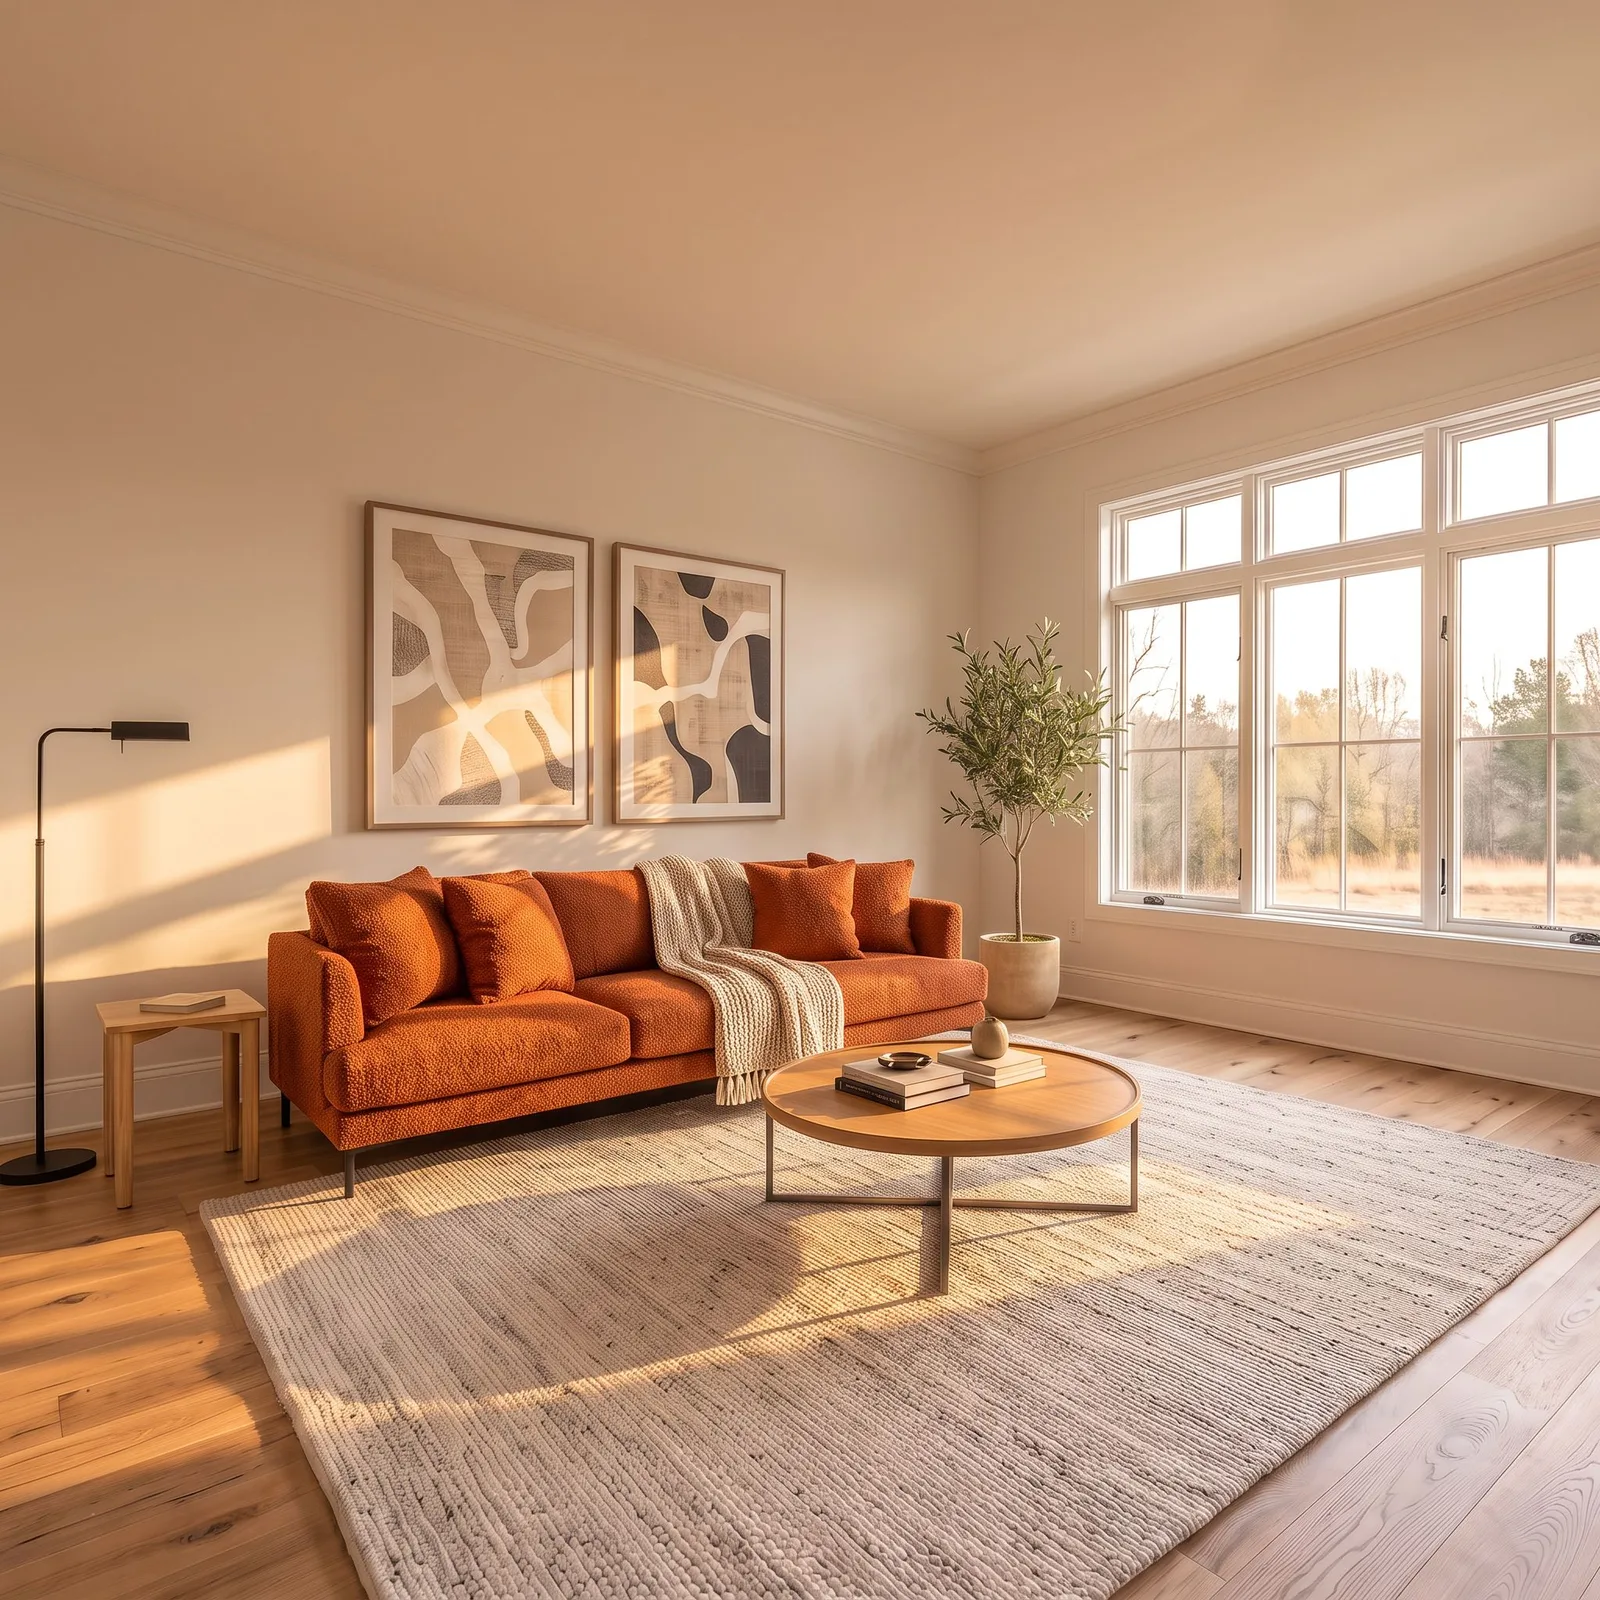
Run Upscale on the chosen card to sharpen detail before it goes in front of a client or into a presentation.
Step 5 — Add people
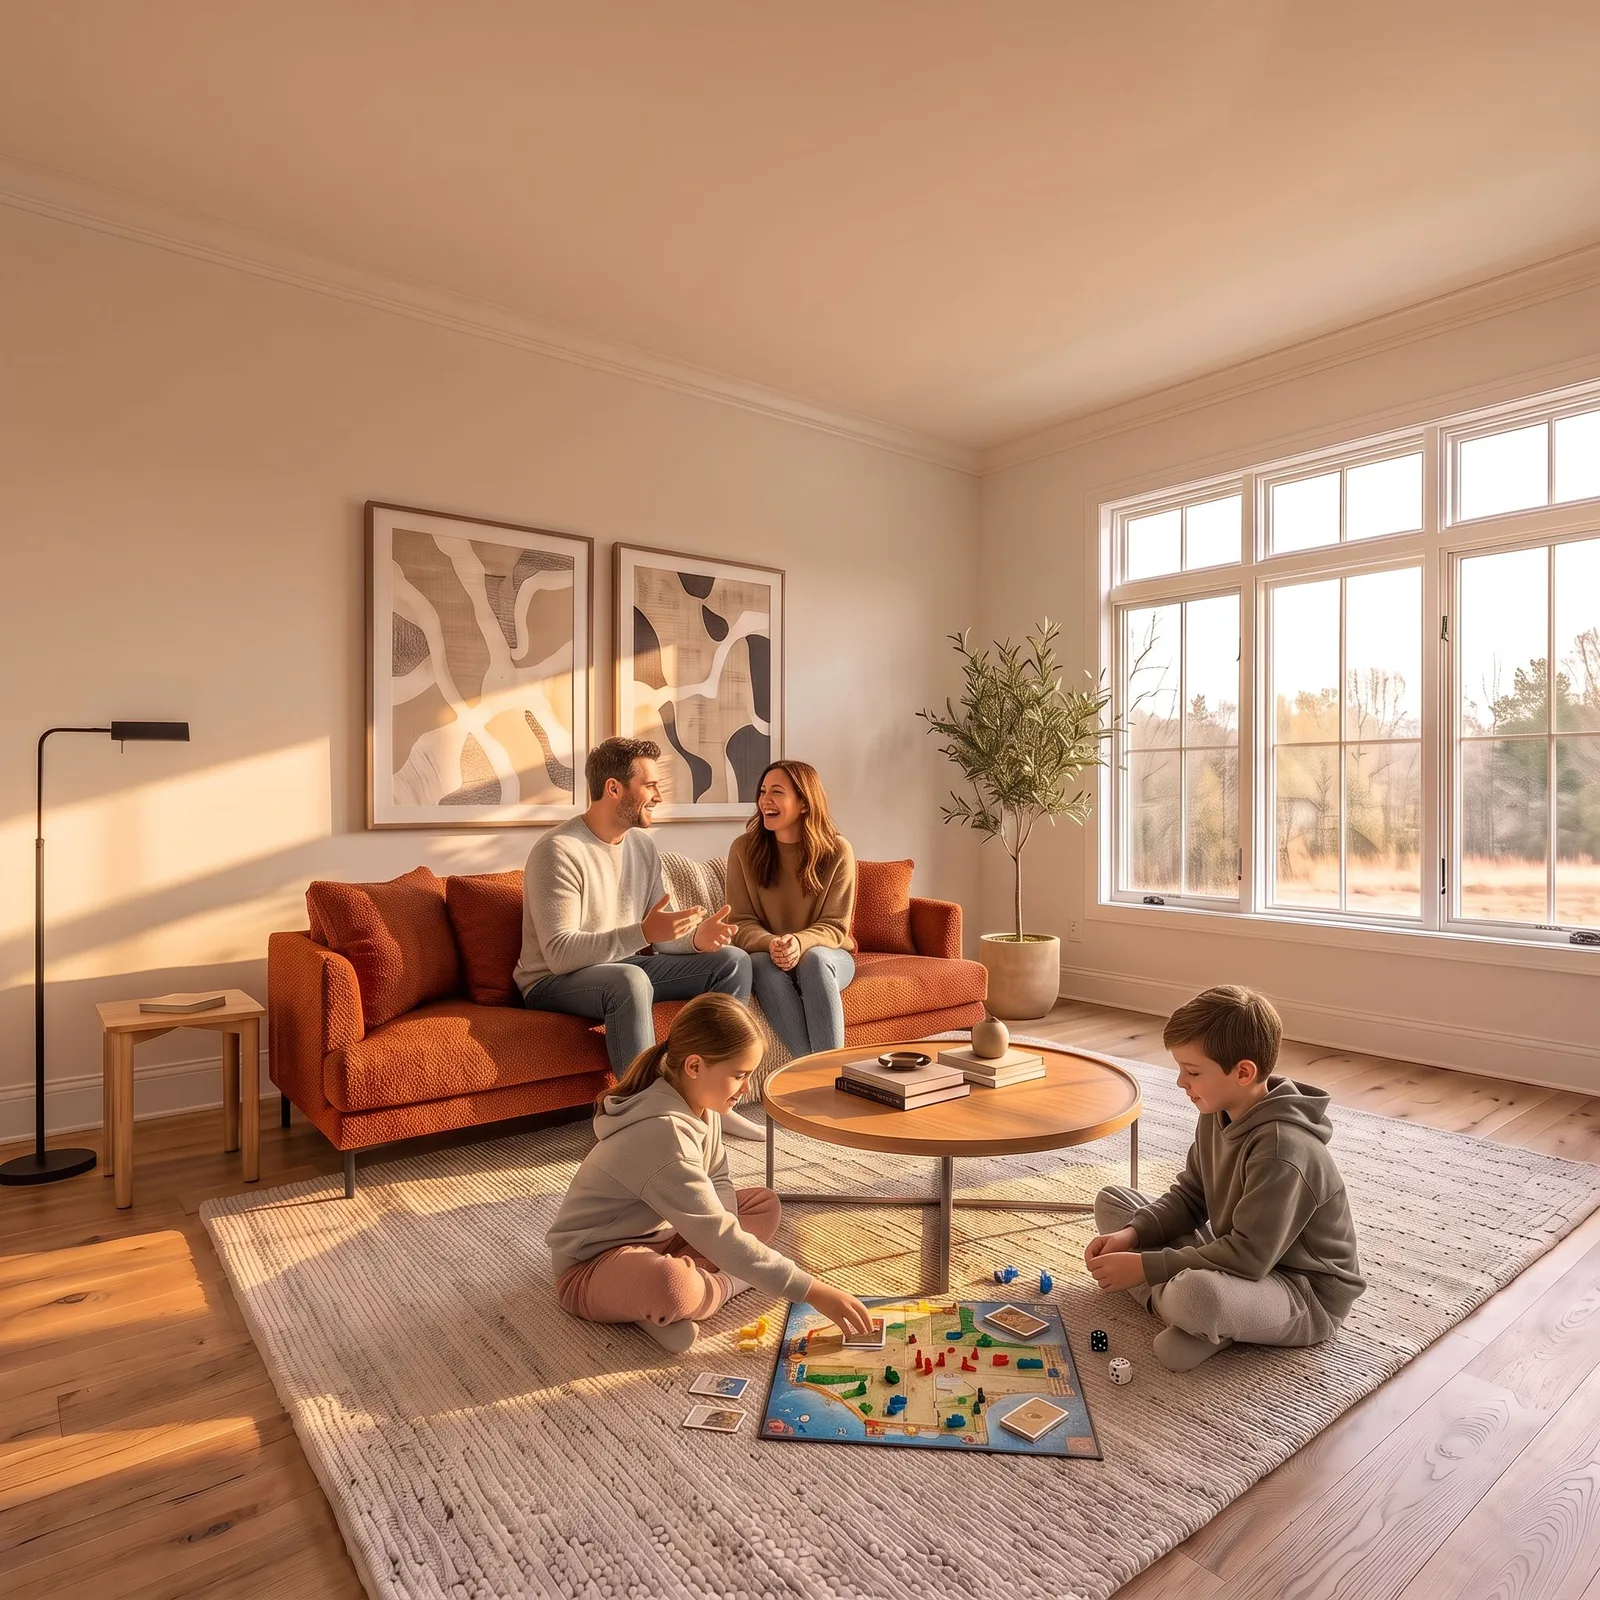
An empty room shows the finish; a room with people shows how it feels to live in. Add people to the card, choosing how busy the room is and who is in it — families, professionals, young people, seniors or a mix.
Why do this on a board instead of in a folder
- The chain is visible. Every result shows which sample it came from — no guessing which file was "the green one".
- Options stay together. A, B and C are compared on one screen, not across tabs.
- Nothing is overwritten. Version history keeps earlier attempts.
Credits
Each step costs the same credits it costs in the matching Archome tool — 20 credits for a material swap from a sample, 30 for an upscale — and Canvas adds no extra fee. If you only need one quick swap without a board, the standalone Material Swap tool does the same single step. To place a specific piece of furniture rather than change a finish, connect its product photo the same way; see what else Canvas does.
FAQ
Can the sample be a photo I took in a showroom? Yes. Any image of the material can be used as the sample.
Does the swap change the rest of the room? The aim is to change the named surface and keep the room's layout and camera. Check each result against the original, which stays next to it on the board.
Can I do this with an exterior? Yes, the same steps work for facade cladding or paving — start from an exterior photo or render.
Open Canvas and try it on the example board first — it is ready on your first visit.