
Virtual Staging Photo Checklist: 10 Rules (2026)
· 7 min read
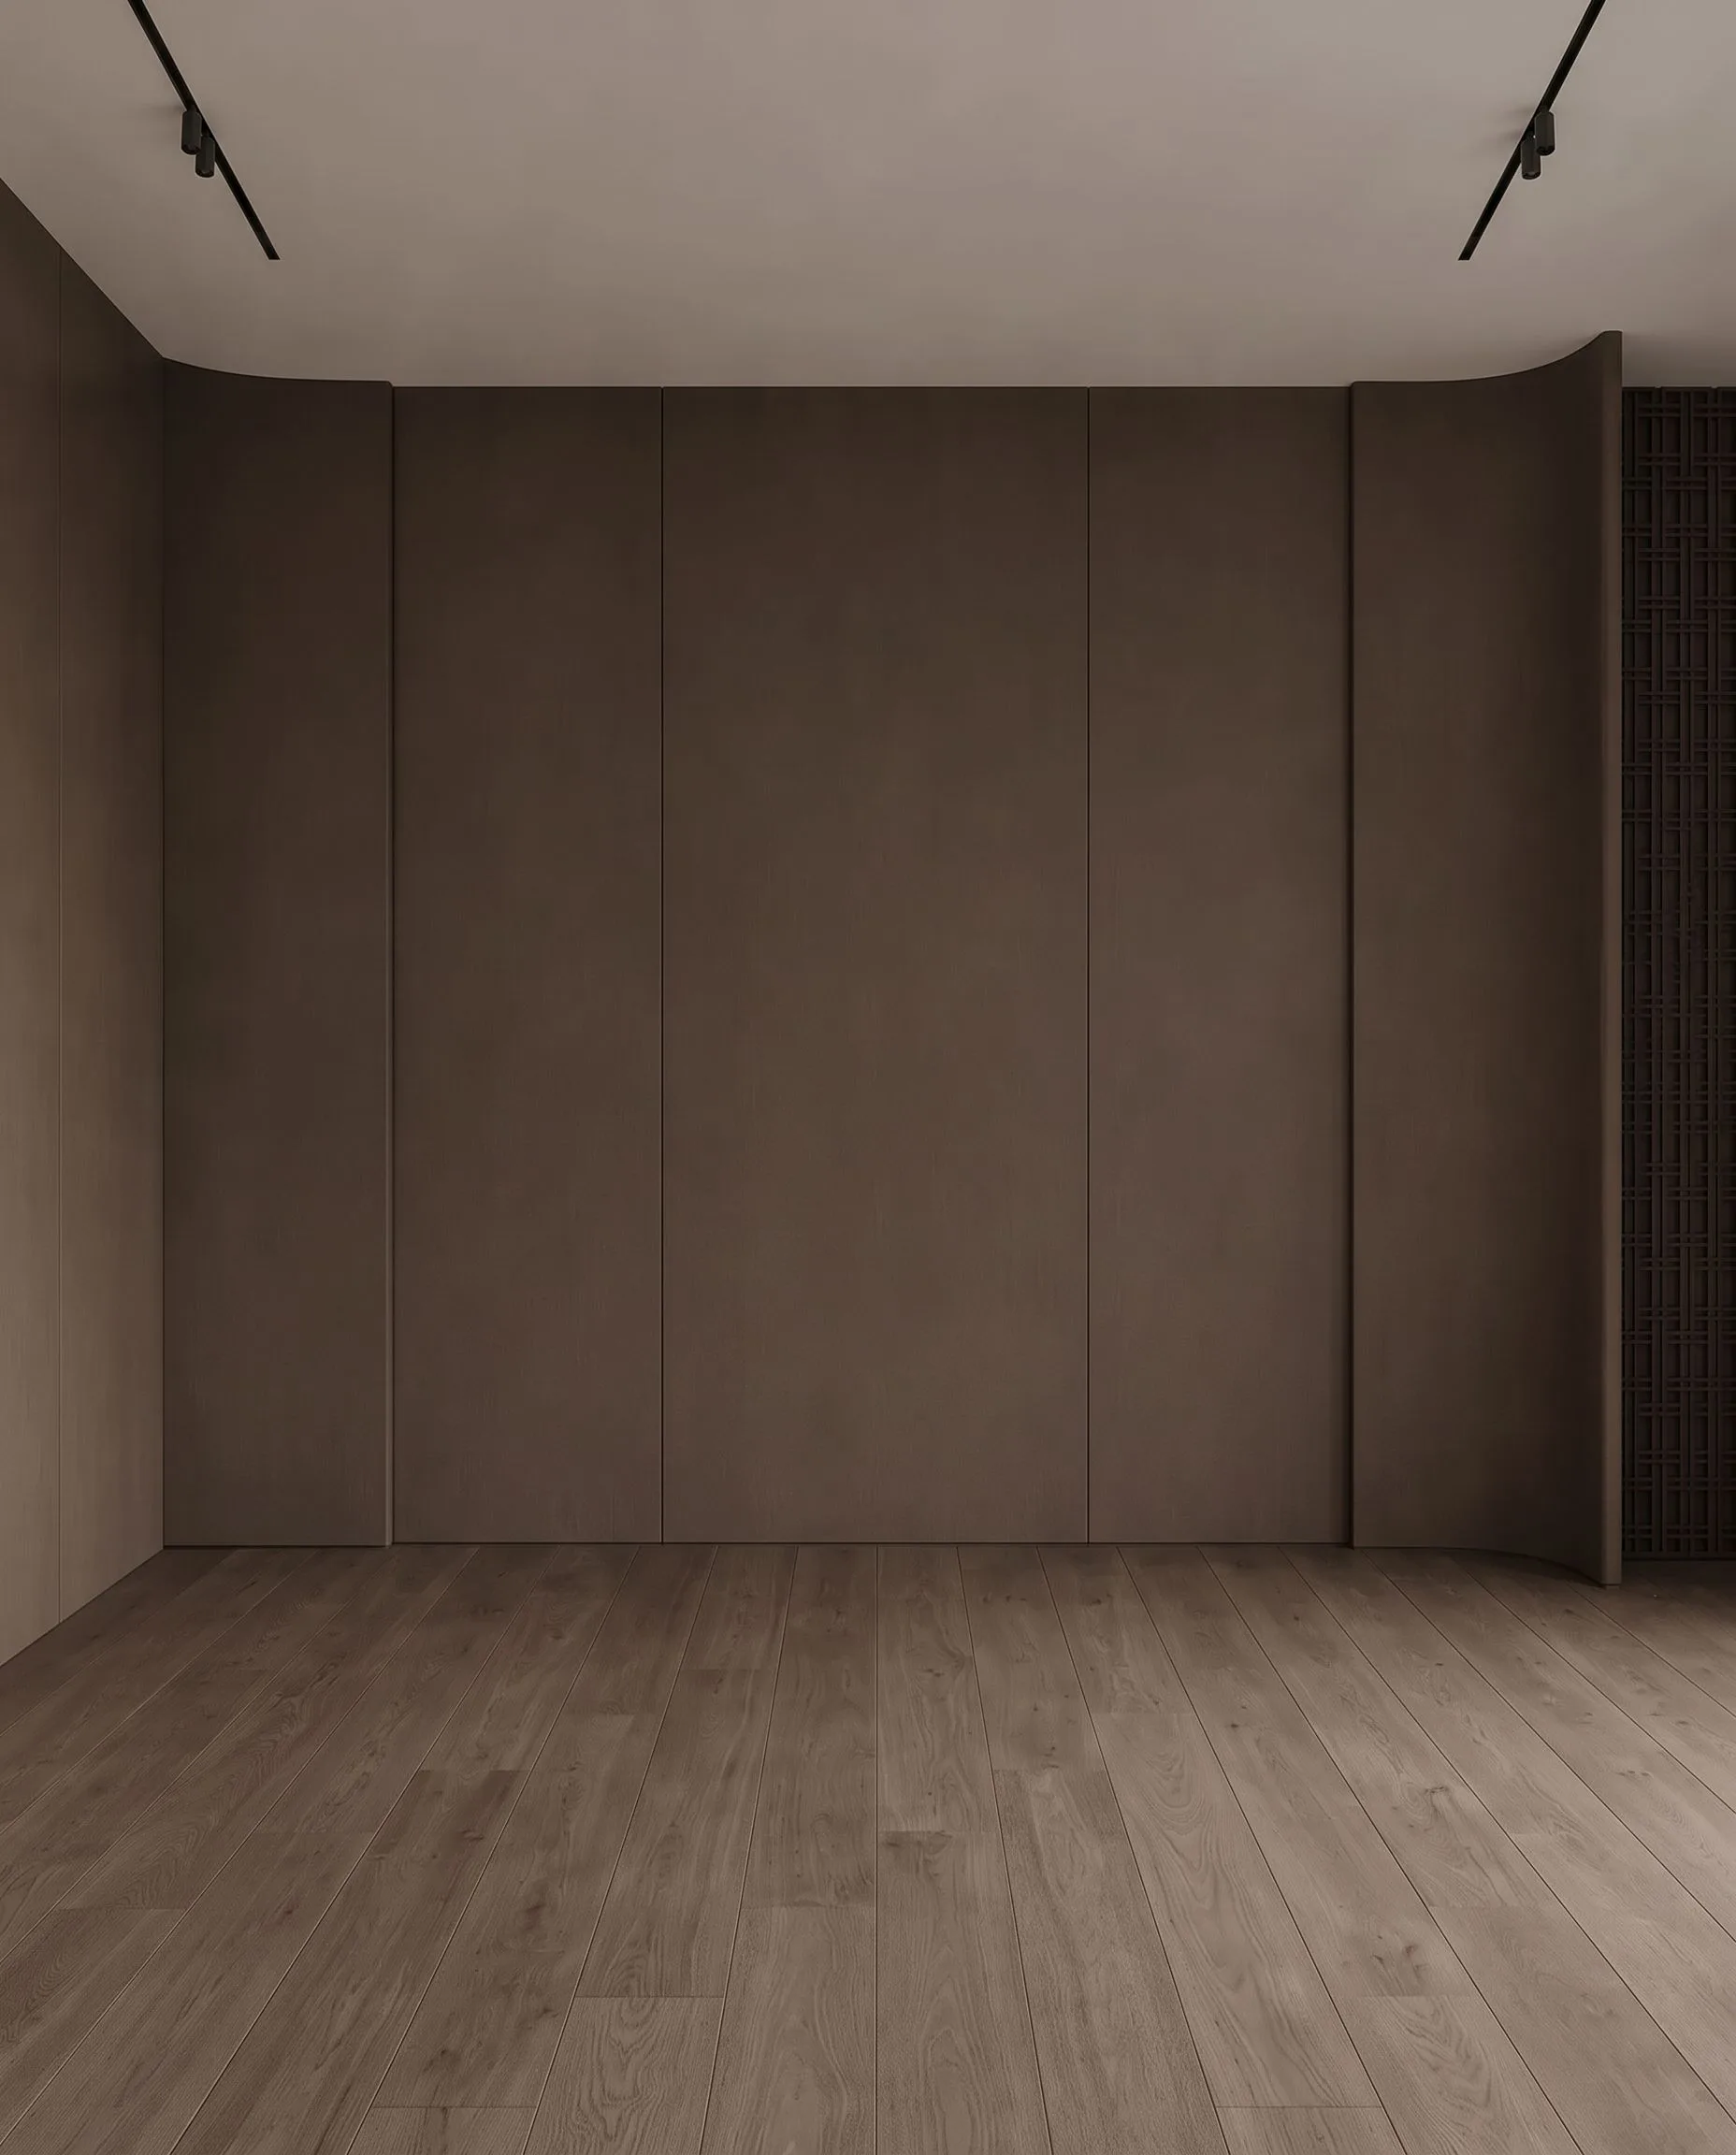
Most bad virtual staging is a bad photograph, not a bad tool. AI staging reads the floor plane, the wall lines and the light in your image and places furniture to match. Give it a level, well-lit, corner-angle shot and the sofa sits on the floor with the right shadow. Give it a tilted phone picture of a dark room and the sofa floats. This checklist is written for agents and photographers who want staged photos that pass at the showing, and it applies to every AI staging tool, not only ours.
The ten-point checklist
- Shoot from a corner, not a wall. Two walls and the floor in frame give the AI the room's geometry. A head-on shot of one wall hides depth and the furniture ends up flat.
- Camera at chest height, about 1.2 to 1.4 m. Eye-level or higher makes floors look small and tilts the vertical lines; knee height exaggerates the floor. Chest height is where listing photos and staging both work.
- Keep the camera level. Verticals must be vertical. A tilted camera gives converging walls, and staged furniture inherits the tilt. Use the grid or a tripod with a bubble level.
- Show the floor. At least the bottom third of the frame should be floor. The AI needs the plane the furniture will stand on; a frame that is mostly ceiling leaves it guessing.
- Even, daylight exposure. Open blinds, turn on every light, shoot in daytime, and avoid blown-out windows. Staged furniture takes its shadows from the light the image shows; harsh single-source light produces a sofa that is lit from the wrong side.
- No people, pets or reflections of you. Mirrors and glossy floors reflect whatever is in the room; a photographer in the mirror becomes a photographer in the staged image.
- Empty or decluttered, not half-furnished. One leftover chair confuses scale. Either clear the room or remove the leftovers first with an object removal pass, then stage. See our guide to virtual furniture removal.
- Wide, but not fisheye. 16 to 24 mm full-frame equivalent shows the room; ultra-wide lenses bend the walls and the AI bends the furniture to match. If you shoot on a phone, use the main camera, not the 0.5x.
- Highest resolution you have, JPG or PNG. Upload the original export, not a screenshot or a portal download. Most tools accept up to 10 to 12 MB; downsizing is fine, upscaling a small file is not. PDFs and HEIC are rejected by many tools, so export to JPG.
- Keep the untouched original. You will need it for the MLS, for the buyer's agent who asks, and for a second staging pass in a different style. Our disclosure guide covers what to keep and how to label.
What the AI actually reads in your photo
A staging model does three things with the frame: it finds the floor plane and its vanishing lines, it finds the wall-floor edges and the openings, and it reads the light direction and colour temperature. Furniture is then generated to sit on that plane, at a size that fits the wall lengths it inferred, with shadows that follow the light it saw. Every checklist item above feeds one of those three readings. Tilt breaks the plane, clutter breaks the scale, single hard light breaks the shadows.
This is also why a photo that looks fine to a human can stage badly: humans forgive a tilted picture of an empty room; the model takes it literally.
Room by room
- Living room: shoot from the entry corner towards the window wall so the sofa faces the light. Include the floor to the opposite wall.
- Bedroom: shoot from the doorway corner showing the longest wall where the bed will go; keep the closet door closed and the window in frame but not centred.
- Kitchen and dining: staging adds stools, a table and tabletop items; show the counter line and the floor in front of it, and leave the appliances as they are.
- Home office or flex room: shoot the wall with the outlet or the window; a small room reads better from the doorway at a slight angle than from inside.
- Exterior and patio: same rules, plus shoot in soft light; midday sun gives a hard shadow the AI will copy onto every chair.
Common mistakes and the fix
| What you see in the result | Cause in the photo | Fix |
|---|---|---|
| Furniture floating or sinking into the floor | Camera tilted, or floor barely visible | Level the camera, lower to chest height, include more floor |
| Sofa too big or too small for the room | No reference edges, ultra-wide distortion, leftover object | Corner angle, 16-24 mm, empty the room fully |
| Shadows going the wrong way | One hard light source or mixed lights | Daylight plus all lights on, no flash |
| Blurry or soft furniture | Low-resolution or compressed upload | Upload the original export |
| Furniture covering a window or door | Opening cut off at the frame edge | Step back or recompose so openings are fully in frame |
| Odd reflections or doubled objects | Mirror or glossy floor | Change angle, or remove the reflection first |
A two-minute pre-upload check
Before you upload, look at the photo and ask four questions. Are the vertical lines vertical? Can you see where the floor meets at least two walls? Is the room evenly lit with no blown windows? Is there anything in the room that is not architecture? If all four pass, the staging will usually pass too. On Archome AI a staged image takes about 30 seconds and runs from $0.29 per photo on the $29 plan, so a second try in another style costs less than the coffee you drink while waiting for a human editor.
Frequently asked questions
What is the best camera angle for virtual staging? A corner angle at chest height, about 1.2 to 1.4 m, level, showing two walls and the floor. It gives the AI the room's geometry and gives the buyer a natural view.
Can I virtually stage a phone photo? Yes, if it is level, shot on the main camera rather than the ultra-wide, in daylight, and uploaded at full resolution. Portrait orientation works for narrow rooms but landscape stages more reliably.
Does the room have to be completely empty? Empty or fully decluttered works best. A single leftover piece confuses scale; remove it with an object removal tool first, then stage.
What resolution do virtual staging tools need? Upload the original export, typically 2,000 to 6,000 pixels wide, as JPG or PNG under 10 to 12 MB. Screenshots and portal downloads lose detail the AI uses for edges and light.
Why does my staged furniture float above the floor? Almost always a tilted camera or a frame with little floor visible. Reshoot level at chest height with the floor in the bottom third of the frame.
Can virtual staging fix a dark photo? It can brighten the result somewhat, but it copies the light direction it sees. Fix exposure first, or reshoot with blinds open and all lights on.
Do these rules also apply to human virtual staging services? Yes. Human editors composite furniture onto the same floor plane and light, so a level, well-lit, corner-angle photo saves revision rounds there too.