
Render From a Photo: The AI Workflow, Explained
5 min read
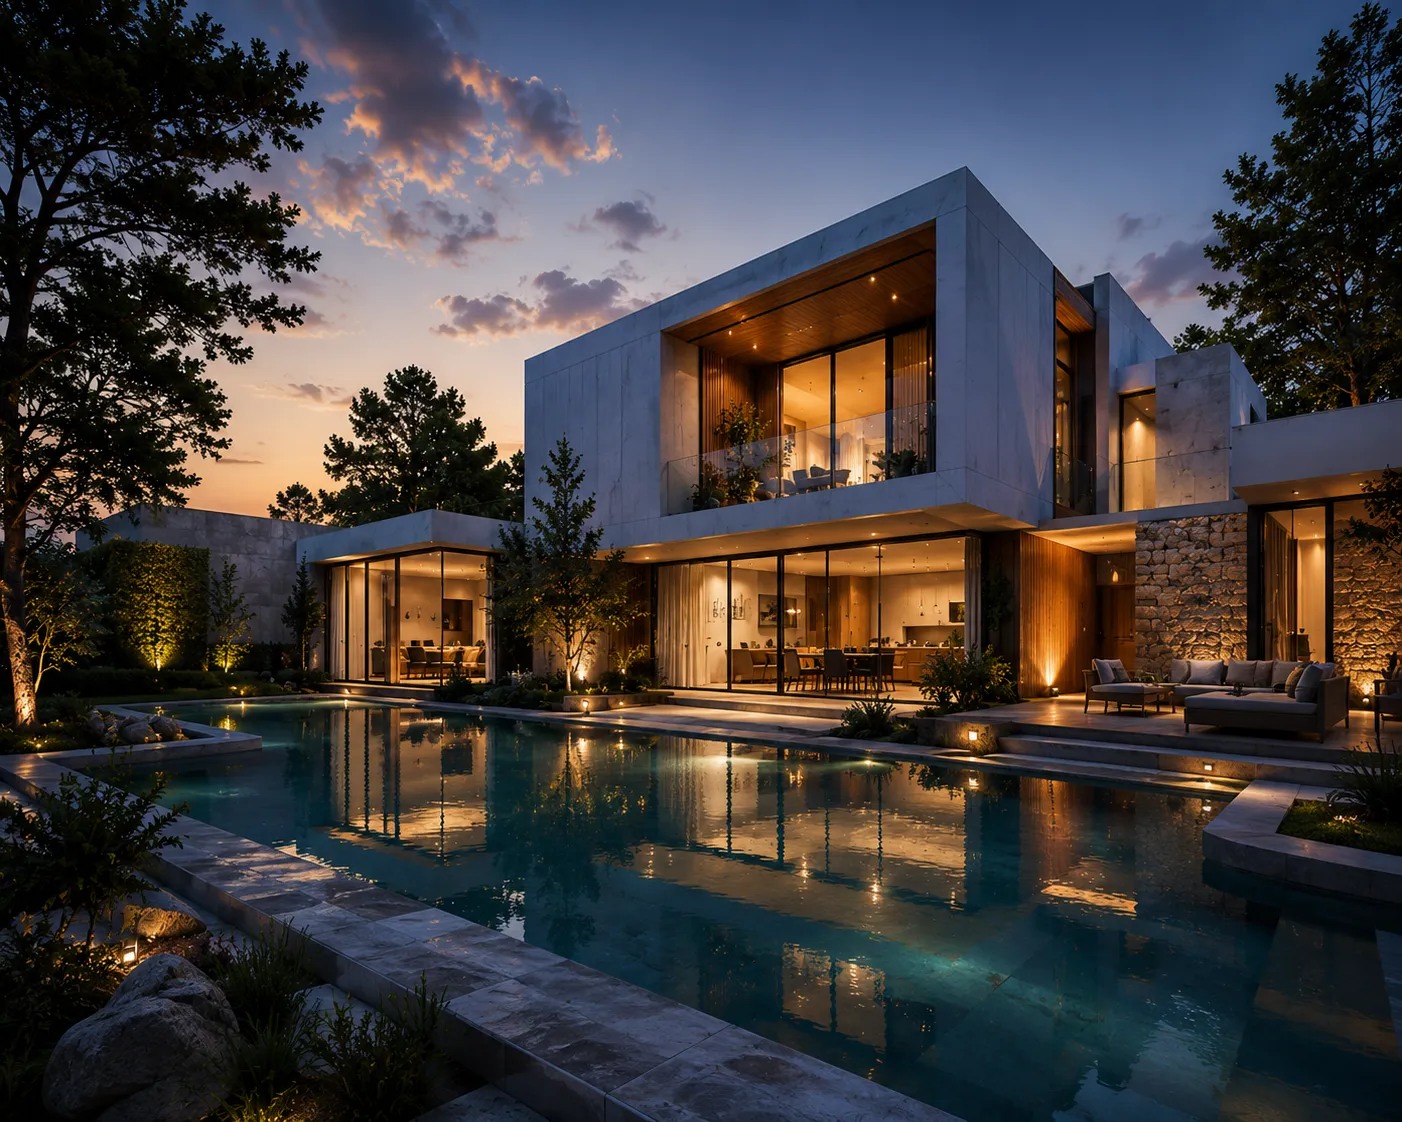
"Render" used to mean a 3D model, a texture pass and a render engine chewing through frames overnight. The AI version skips all of that: you start from a plain photo — a room, a facade, a street-view shot of a building — and get a photorealistic render back in about 30 seconds. No model, no software, no render farm. This guide covers how the photo-to-render workflow actually works and how to get a result worth using.
What "render from photo" actually means
Instead of building geometry from scratch, the AI reads your photo directly — the walls, the windows, the roofline, the perspective — and keeps that structure fixed while generating new materials, lighting and detail on top of it. The output looks like a real photograph of the same place, just finished, restyled, or upgraded. It's the fastest path from "here's what exists" to "here's what it could look like," because the starting point is a photo you already have, not a model you'd need to build first.
The workflow, step by step
- Take or find the photo. A straight-on, well-lit shot works best — a room from a corner, or a building's front elevation without heavy foreground clutter.
- Choose the right tool for the subject. Interiors (rooms, kitchens, offices) go through Interior AI; buildings and facades go through Exterior AI.
- Upload the photo and pick a style — a preset like modern, minimalist or Mediterranean, or a written prompt describing materials and light.
- Generate. You get several render options back, each keeping the geometry of your original photo intact.
- Compare and refine. Adjust the prompt — swap a material, change the time of day — and regenerate until one matches what you had in mind.
Getting a clean result from your photo
- Shoot it straight-on. Extreme angles distort the geometry the AI has to preserve, which shows up as warped proportions in the render.
- Light it evenly. Heavy shadows or blown-out windows hide detail the model needs to work with.
- Name your materials. "Board-formed concrete, white oak, brushed brass" renders more predictably than "make it look nice."
- Say the time of day. "Golden hour," "overcast soft light" and "blue hour with warm interior glow" each push the render in a distinct, controllable direction.
Interiors vs. exteriors: same idea, different tool
The underlying photo-to-render process is the same either way, but the two tools are tuned for what they're looking at. Interior AI reads a room's walls, windows and perspective and reimagines the furniture, finishes and lighting inside them — useful for redesigns, staging or renovation previews. Exterior AI reads a building's massing and openings and restyles the facade — materials, color, landscaping — without moving a single window. If you're starting from a hand sketch instead of a photo, that's a related but different workflow; see the sketch to render guide for that case. And if what you actually want out of the photo is a downloadable 3D asset rather than a 2D image, that's a separate tool too — see the photo to 3D model guide.
Common mistakes that ruin a photo-to-render result
Most disappointing renders trace back to the source photo, not the AI. A few things worth checking before you upload:
- Cropped or partial rooms. If the photo cuts off a wall mid-frame, the AI has to guess what's beyond it — back up or use a wider lens so the whole space is visible.
- Vague style prompts. "Nice" and "modern" mean different things to different people; naming an actual material, color or era gives the model something concrete to aim at.
- Skipping the comparison step. Because each generation returns multiple options, it's worth generating two or three variations before picking one — the second attempt with a slightly adjusted prompt is often noticeably better than the first.
- Using a heavily filtered or edited source photo. Instagram-style filters, added vignettes or color grading confuse the model's read of the real materials and light — start from an unedited photo when you can.
Why this beats building a 3D model for early-stage decisions
A full 3D model earns its keep once a design direction is locked — construction drawings, precise material take-offs, camera paths for a walkthrough. But most of the decisions that come before that point are really about direction: does this material palette work, does this furniture layout read well, does this facade color suit the street. Rendering from an existing photo answers those questions in the time it takes to describe them, using a space that already exists instead of one you'd have to model first. That's also why it pairs well with real listings and real renovation projects rather than only greenfield design work — the "before" photo is the whole starting point.
Frequently asked
Does it change the layout or structure? No. The geometry in your photo — walls, window positions, rooflines, proportions — stays fixed. Only materials, furnishings, colors and lighting change.
Can I use a phone photo? Yes. A clear, well-lit phone photo is enough; you don't need a DSLR or a tripod.
How many render options do I get per photo? Each generation returns multiple options, so you can compare directions side by side before committing to one.
Does this work on an empty or unfinished space? Yes — in fact it's one of the more common uses. See the furnishing an empty room with AI guide for that specific workflow.
Have a photo ready? Open Exterior AI for a building, or open Interior AI for a room — your first renders are free.