Rhino AI Rendering: Viewport to Photoreal
· 6 min read
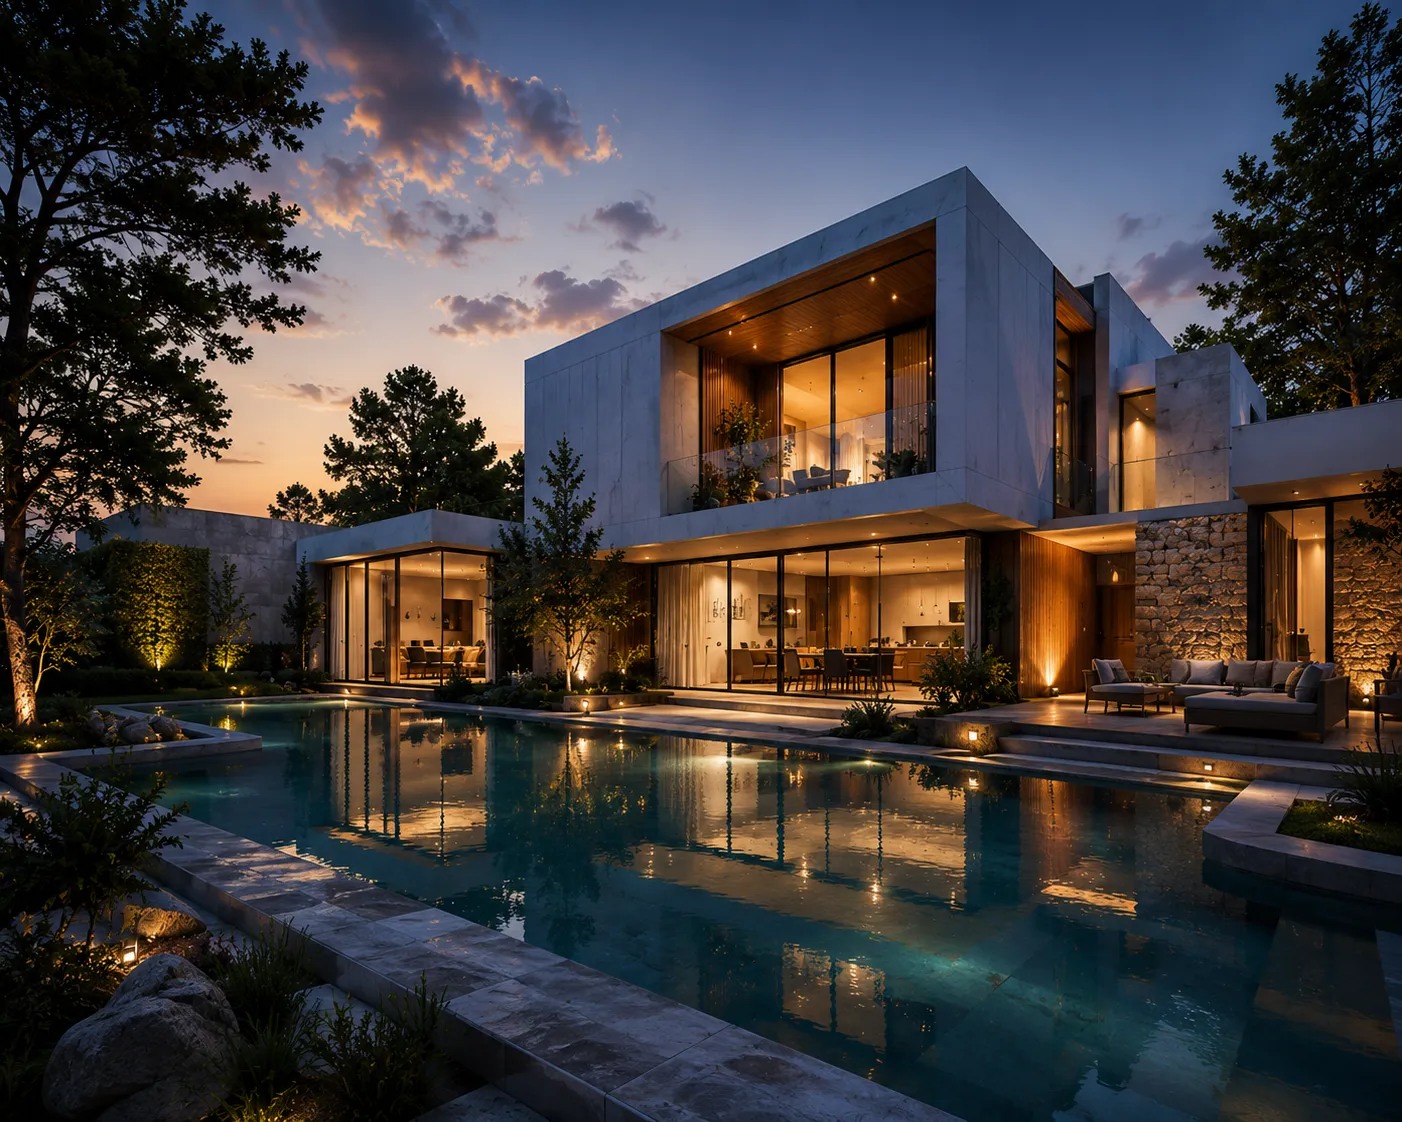
Rhino users sit in an awkward spot in the AI rendering wave: the modelling environment is second to none, but the visualisation loop still routes through V-Ray setups or exports to other packages. The AI shortcut is simpler than most workflows admit — because for AI rendering, a viewport capture is a perfectly good input. The dedicated Rhino AI rendering page covers the plugin that now sends the viewport over without a manual export.
The workflow
- Set the view in Rhino. Frame the camera exactly as you want the render — the AI treats your camera as fixed, so this is a real design decision. A shaded or arctic-style display mode works well; even wireframe-with-shadows carries enough information.
- Capture the viewport. ViewCaptureToFile (or a plain screenshot) at 1500px+ is enough.
- Upload to Exterior AI or Interior AI, describe materials and mood ("board-formed concrete, oak screens, overcast morning"), generate. ~30 seconds per direction.
- Iterate materials, keep massing. The structure lock holds massing, openings and camera from your capture; style words change surfaces and light only — which is what makes the output presentable next to your model.
What survives, honestly
Your geometry, camera and openings survive; whatever the viewport does not show, the model must infer. NURBS precision is irrelevant to the AI — it reads the image, not the file — so this workflow is for design communication (client options, mood studies, planning-meeting visuals), not for dimension-bearing documentation. For the hero frame with exact IES lighting, your existing pipeline stays.
Where it pays for itself
Client revisions. "Can we see it in brick?" costs 30 seconds instead of a render-queue slot. Studios run the option storm in Archome and reserve the main renderer for the approved direction — the economics of that split are covered in Archome for visualization studios and for architecture firms. For a Grasshopper-specific version of this — rendering massing variants before a jury meeting — see Rhino to photoreal render in 30 seconds. When the jury meeting is a full competition submission rather than an internal review, architecture competition boards with AI covers assembling a whole board of finishes, not just one render.
Rhino-specific tips
- Display mode matters more than render mesh: a clean shaded view with shadows reads better than a dense wireframe.
- Two-image trick: upload a material reference alongside the capture with Style Transfer to steer the palette from a precedent photo.
- Plans work too: a top view exports as a plan — the floor plan tool turns it into eye-level interiors.
Testing costs nothing: 100 credits when you sign up (three images on the free tier), no card. If you also work across SketchUp or 3ds Max, those have one-click plugins — Rhino support is on the roadmap; for now the viewport route above is the whole setup. The wider tool landscape is in the 2026 comparison.